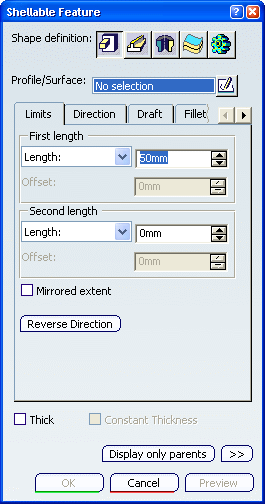
Click Shellable Feature
 in the Basic Features toolbar.
Shellable features can have different basic
shapes: Prism,
Sweep,
Revolve,
Thick Surface
or an External Shape. The Shellable Feature dialog box that
appears displays Prism
 as the default shape to be created.

If you prefer a different shape, click any of the other
four shapes available.
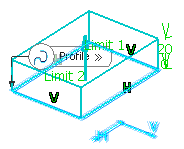
Select the profile you want to extrude.

Create a basic prism as explained in the
Prism task.
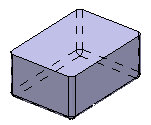
Click OK to confirm and create the shellable
feature.
Shellable Prism.X is added to the specification
tree in the Solid Functional Set.X node.
By customizing the view (using Hidden edges points),
you can notice that the prism is hollow .
By default, the shellable feature has no opening.

To open it, just double-click the Shellable Prism.1
node in the specification tree or click Shell Properties
 in the Mold Design Properties toolbar.
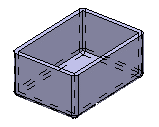
For example, select the top face as the face to be removed
and enter the value of your choice to define the wall thickness.
Click OK to confirm the operation.
One face has been removed.
