Creating an Intersection

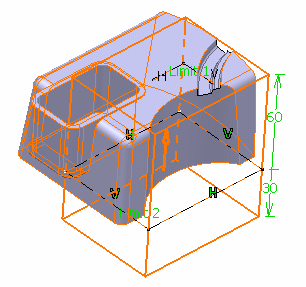
You can compute the intersection of the shape you define with the features you want to modify using the Intersect command. The resulting shape is the intersection between the shape of the intersect and the shapes of the selected features.

This task shows you how to :

Related Topics
More about an Intersection
Using the Display Only Parents Option to Retrieve a Creation Context

Create an Intersect Feature

You can create an intersection between the selected features.

  1. Click Intersect Feature in the Dress up & Modifiers toolbar (Feature modifers sub-toolbar).

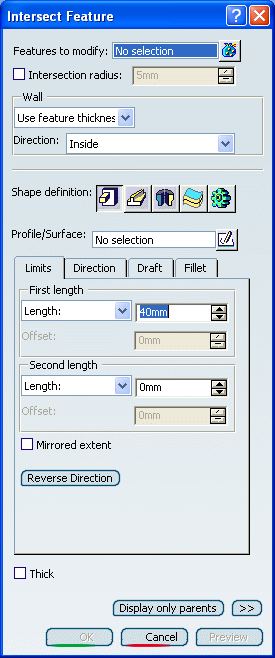
    The Intersect Feature dialog box appears.

  2. Select the Remove feature as shown as the Feature to modify.

    Important:
    • If you select several features, the box displays the number of selected elements. To act on this selection, just click to display the Element list dialog box that allows you to:
      • View the selected elements
      • Remove any element by clicking the Remove button
      • Replace any element using the Replace button and selecting a new one in the geometry or the specification tree.
    • You can control whether the wall is constructed inside or outside of the selected profile. The default is an inside wall thickness. Please refer to Inside/Outside definition in Remove feature.
    • Intersect features can have different shapes. The prism is the default shape. If you prefer a different shape, click any of the other three shapes available. To know how to create any of them, refer to the Prism, Sweep, Revolve, Thick Surface or External Shape tasks.

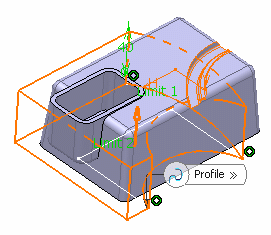
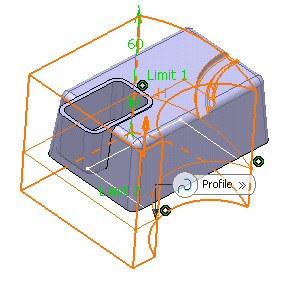
  3. Click the Profile/Surface box and select Sketch.4 as the profile defining the prism.

  4. Select the Intersection radius check box and enter 1mm.

    Important: The Intersection Fillet provides the capability to create fillets at the intersections with the targets. Also it provides the ability to keep the wall thickness constant when modifying wall creating feature that has set the constant wall option.

  5. Click the Direction tab and ensure that Normal to profile is set to extrude the profile normal to Sketch.4.

  6. Click the Limits tab and enter 60mm to define the first length and 30mm to define the second length.

  7. Click OK to confirm the operation.

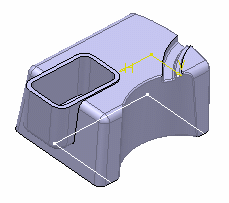
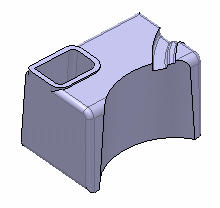
    The intersection between the defined prism you defined and Remove Sweep.2 looks like this:

    Intersect Prism.X is added to the specification tree in the Solid Functional Set.X node.

Control Wall Creation

You can control the wall creation and the also keep the wall thickness constant using the Intersect Feature command.

When the intersect feature is applied to a "wall creating feature", in our scenario to a pocket feature, and if the wall type is set to Use feature thickness Use feature thickness and the target feature has a Constant wall thickness option, the intersect feature controls the wall creation. Also Intersect feature has the ability to keep the wall thickness constant when modifying "wall creating features" that have been set the Constant wall thickness option.
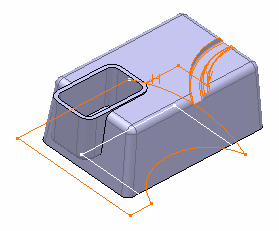
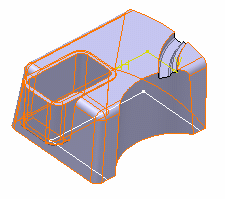
  1. Click Intersect Feature to create an additional intersect feature to our 3D shape.

  2. Select the shellable prism and the pocket as the features to modify.

  3. Click the Profile/Surface box and select Sketch.5 as the profile defining the prism.

  4. Select the Intersection radius check box and enter 3mm.

  5. Ensure that 60mm is the value for the First length and 30mm for the Second length.

  6. Click OK.