Creating Circular Patterns | |||
| |||
Obtain Multiple Instances Using a Circular Pattern
You can create circular pattern by maintaining equal angular spacing between the instances.
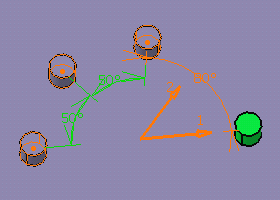
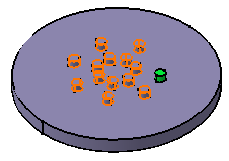
Select the pad whose geometry you want to copy.
Tip: Make sure the item you wish to duplicate is correctly located in relation to the circular rotation axis. 
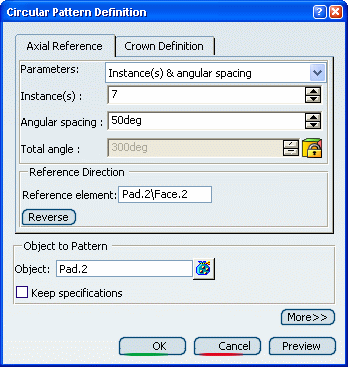
The Circular Pattern Definition dialog box appears and the feature's name displays in the Object box.
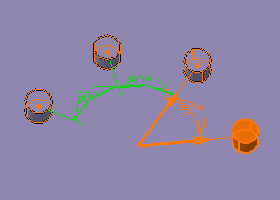
Tip: If you change your mind and decide to pattern the current solid, click the Object box and use the Get current solid contextual command. For more information, see About Patterns. Click the Reference element box and select the upper face to determine the rotation axis. This axis will be normal to the face.
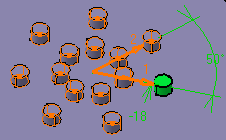
Two arrows are then displayed on the pad.
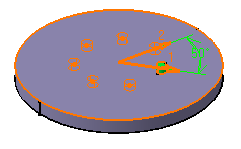
Tip: If you modify the angular spacing, the application previews the result: arrows 1 and 2 are moved accordingly. Click Preview: the pad will be repeated six times. The instances are green, just like the original feature.
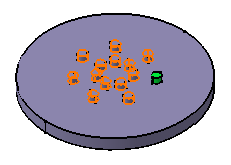
Enter -18 mm in the Circle spacing box.
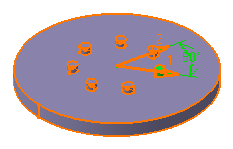
Click OK. These are your new instances:
Extend the dialog box by clicking More>>.
Enter 20 in the Rotation angle box. The application previews the rotation.
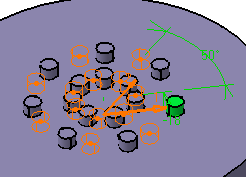
Click OK. All instances are moved accordingly.
![]()
Assign Unequal Angular Spacing
You can assign specific angular spacing between each instance.
Set the Instances & unequal angular spacing parameter.
Angular spacing values are displayed between each instance.
Then, choose one of the methods described hereafter: For example, if you wish to change 50 degrees for 80 degrees for the angular spacing selected as shown in our picture, you can:
- double-click the angle value in the geometry area. This displays the Parameter Definition dialog box in which you can enter the new value.
- directly enter the new value in the Angular spacing box of the Circular Pattern Definition dialog box.