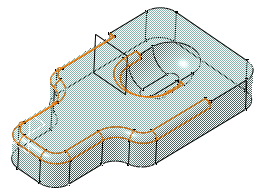
Click Edge Fillet
 .
.
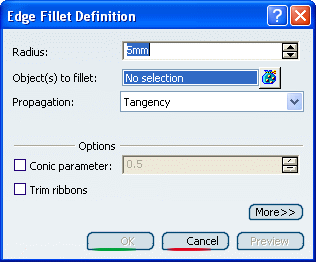
The Edge Fillet
Definition dialog box appears.
Select the edge as shown.
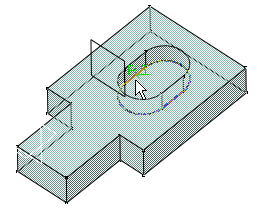
The edge selected then appears in the Objects to fillet
box. The application displays the radius value.
For the purpose of our scenario, set Tangency.
The preview clearly shows that the whole edge will be filleted.
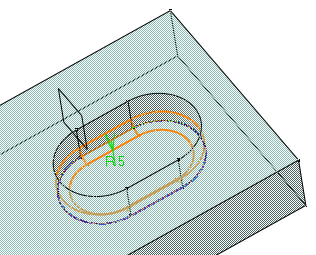
Enter 15mm as the new radius value. The radius
value is updated in the geometry area.
Select the eight vertical edges.
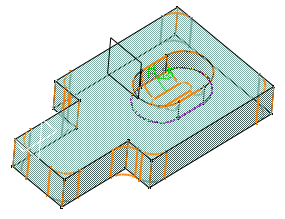
Click OK.
The edges are filleted. The creation of this
fillet is indicated in the specification tree.
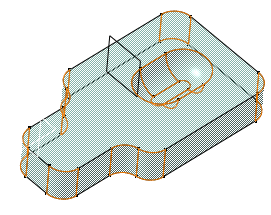
Click Edge Fillet
 again and select the upper face as the new element to be filleted.
Enter 5mm as the radius value.
Click More>> to access four additional options
in Part Design.
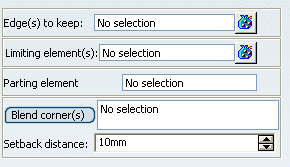
Click the Limiting element
box and select Plane.1 as the plane that will intersect the
fillet.
An arrow appears on the plane to indicate the
portion of material that will be kept. Clicking this arrow reverses
the direction and therefore indicates that the portion of material
that will be kept will be the opposite one.
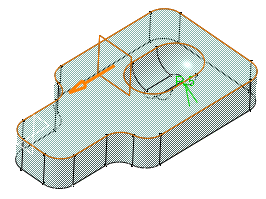
Click OK.
The second fillet is trimmed to Plane.1. Both
fillets are displayed in the specification tree. The final 3D
shape looks like this:
