This task shows you how to modify the projection plane of generated views.
Create a front view of the part.
Create a right, left, bottom and top
projection view.
Then create an
auxiliary view of
the top view.
Create a
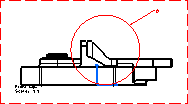
detail view on the front view.
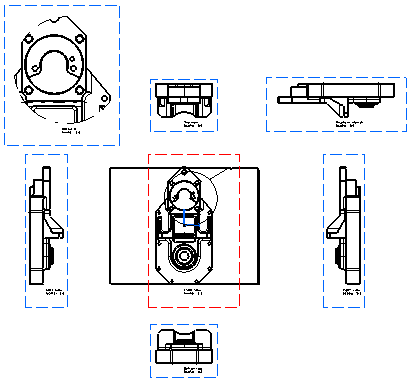
In the specification tree, right click and select
Front view object > Modify Projection plane.
The front view and all the projection views are highlighted,
showing that the modification will impact all the views.
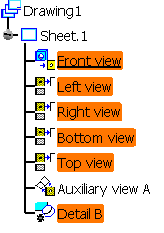
Select an edge of the part as your new reference plane.
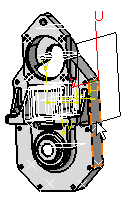
The front view with the new reference plane is previewed
in the drawing.
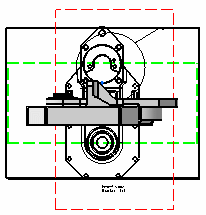
Click the drawing sheet to create the front view according
to the reference plane you selected.
The front view is updated and, in the specification
tree, each projection view appears as needing an update.
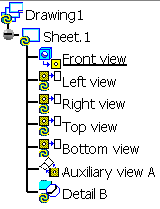
Right-click each projection view and select Update
selection in the contextual menu to update the view according
to the new reference plane.
You can also right-click the drawing node and select Update selection
in the contextual menu to update all views at once.
The right, left, bottom, top and auxiliary views are updated, as well
as the detail view. The detail view callout turns black again since
there is no inconsistency left.