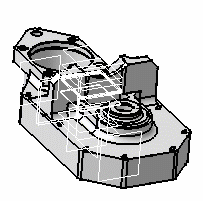
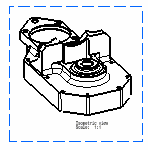
Click Isometric View
 in the Views toolbar (Projections sub-toolbar).
 Define the 3D viewer orientation according to the result
you want to obtain in the view. To do this, you can either manipulate the
viewer directly, or use the View > Named Views command in 3D to
define your orientation precisely.

Click the 3D part.
A green frame with the preview of the isometric view to be created, as
well as blue arrows, appear. You can re-define the reference plane orientation
of the view to be created using these arrows: to the bottom, the left, the
right, the top, or rotated using a given snapping or according to an edited
rotation angle. For more information, refer to
Creating a Front View.
Click in the sheet to generate the view.

|