Perform either of the following operations in the Views toolbar (Details sub-toolbar):
- To create a circular detail view, click Detail View
 .
.
- To create a detail view using a sketched profile, click Detail View
Profile
 .
.
In this
scenario, you will create a circular detail view.
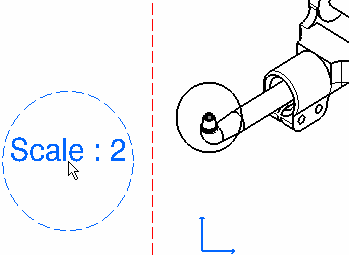
Click the callout center.
If you are creating a detail view using a sketched profile,
create the required points for sketching a polygon.
Drag to select the callout radius and click a point to end
the selection.
If you are creating a detail view using a sketched profile,
double click to end the cutting profile creation. Note that if you do not
close the profile, it will be closed automatically.

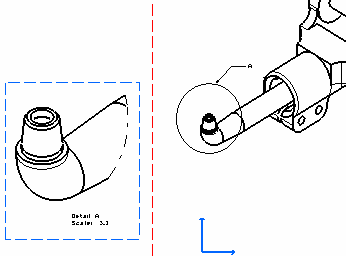
Click to generate the detail view.
The default scale is 2 (twice the scale of the active view).
You will now modify this scale in the Properties dialog box.
Right-click the detail view, select Properties
and then the View tab.
Enter the desired Parameters Scale, for example
3.
Click OK to validate and exit the Properties
dialog box.
