Inserting a New Body | ||||||||
|
| |||||||
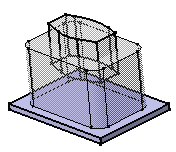
- Your initial data consists of three bodies designed
as shown below. Click Body
 in the Insert toolbar .
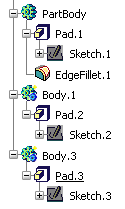
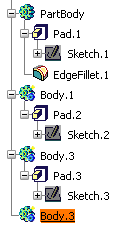
Tip: If the command icon is not visible in the application, you can display the Insert toolbar by using View > Toolbars > Insert. The result is immediate. the application displays this new body referred to as Body.3 in our example, in the specification tree. It is underlined, indicating that it is the active body. The image associated with bodies in the tree differs from the image representing the part body. A blue gear as well as a yellow plus or minus sign have been added to the green gear. These signs indicate the polarity of the body.
This new image lets you quickly tell a body from a part body especially if that one has been renamed.
You can construct the geometry for this new body using the diverse commands available in this workbench or in other workbenches.
You will notice that Part Body and Body.3 are autonomous. The operations you would accomplish on any of them would not affect the integrity of the other one. Now, if you want to combine them, see the tasks showing the different ways of attaching bodies in the Part Design User's Guide: Associating Bodies: Trimming Bodies.