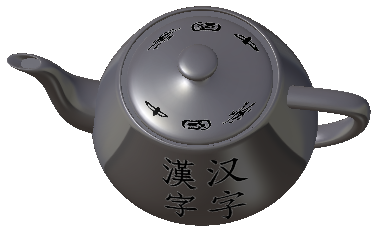
Applying 2D Texture Stickers | ||||||||
|
| |||||||
Click Apply Sticker
 in Sticker Commands toolbar to open the Sticker
dialog box:
in Sticker Commands toolbar to open the Sticker
dialog box:
Tip: You can also select directly in the geometry area the element onto which the sticker will be applied then click Apply Sticker .
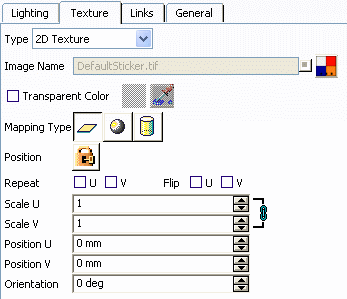
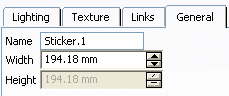
Use the manipulator to adjust the size of the sticker or select the General tab to manually enter the sticker dimensions.
Click one of the three buttons
 to choose the most appropriate type of mapping: either Planar,
Spherical or Cylindrical.
to choose the most appropriate type of mapping: either Planar,
Spherical or Cylindrical.Click OK to validate your parameters.
Note: If you are a DS Passport customer, you can read the