Adding an Existing Shape | ||||||||
|
| |||||||
In the 2D area, select the logical component to which you want to add a shape.
Note: If you select a logical component that already has a 3D representation, the shape you are adding will be placed at the same location as the existing 3D representation.
A balloon appears next to the logical component:
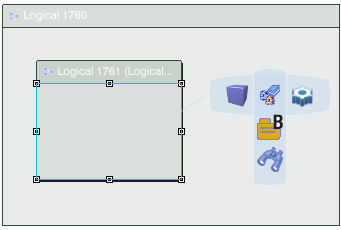
In the balloon, select the shape you want to add:
-
To add a shape from a catalog, click Catalog
 .
.The Catalog Browser dialog box opens from which you can select the shape.
For more information, please refer to Catalog User's Guide: Catalog Browser
- To add a shape from the database or session, click Search
 .
.The Object Selection dialog box opens with search From Search and From Session tabs. Search for and then select your shape.
For more information, please refer to the Infrastructure User's Guide: Using the PLM Chooser
A balloon appears in the 3D area.
-
To add a shape from a catalog, click Catalog
Position the shape in the 3D area using one of the following placement modes:
- To position the shape on a surface or point, click Select Surface or Point
 and then select a surface, point or edge in the 3D area.
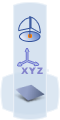
 - To position the shape by giving coordinates, click XYZ coordinate
 , in the dialog box which appears enter your coordinates and then click OK.
 - To position the shape anywhere in the 3D area, click Selection on Compass Plane
 (Robot plane) and then select a position in the 3D area.
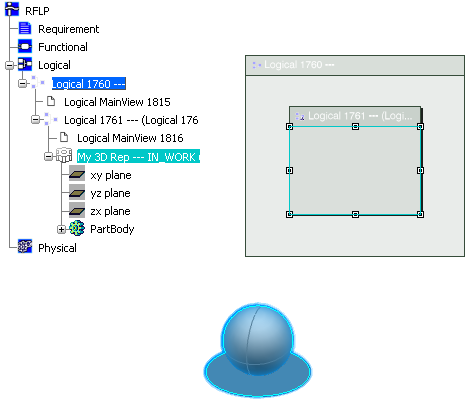
When you have clicked to position the shape:
- In the 3D view, the shape appears.
- In the specification tree, the logical shape is added under the existing logical component.
In this example, a box is created.
- To position the shape on a surface or point, click Select Surface or Point