Use Design Ambiences
Three Design Ambiences are available as well as a neutral environment. These ambiences are to be used when you want to work in a design mode.
Except for None, objects are displayed by default in a parallel view but you can switch to a perspective view through . Whenever you switch to another Design Ambience, the parallel view is automatically applied.
Select
then click the ambience of your choice.
- Design Icy Blue
Contains a grid, a ground, a shadow, a sky and a skyline.
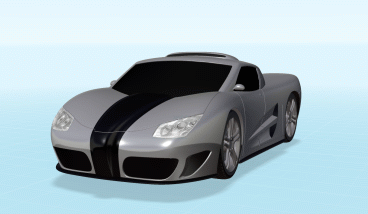
- Design Dark Grey
Contains a grid, a ground and a shadow.
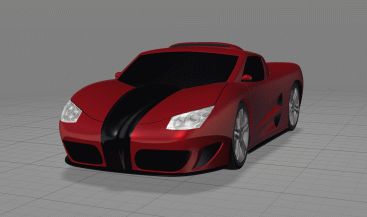
- Design Deep Blue
Contains a grid, a ground, a shadow, a sky and a skyline. This is
the default V6 ambience.
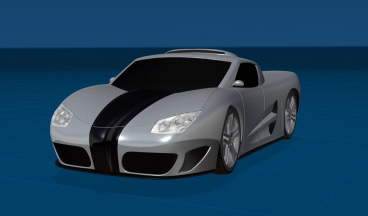
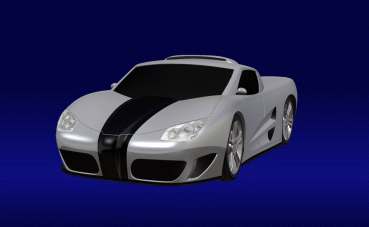
- None
No ambience is defined and the default V6 visualization
environment is retrieved.
The following functionalities
can be customized:
-
- Graduated color
background and Background in
the
Visualization tab:
Objects are displayed in the last applied view (i.e. Perspective or Parallel). The view choice is stored in preference files and is recalled from one session to another.
Zoom in or out. The grid moves according to the size of the scene.
When you modify the scene, no shadow is cast on
the ground as long as you press the mouse buttons. Shadows
are displayed as soon as you release the mouse buttons. To switch to another ambience, select
or then choose the appropriate ambience. You can switch between ambiences as needed to work in a
design or review context.
Select
. The object is displayed in a neutral environment and you can
customize visualization settings.
For instance, you can apply a new background color through .

Use Experience Ambiences
Five Experience Ambiences are available. These ambiences are to be used when you want to work in a review mode.
By default:
- Objects are displayed in a perspective view but you can switch to a parallel view through . Whenever you switch to another Experience Ambience, the perspective view is automatically applied.
- The Gravitational effects during navigation option is automatically activated.
All these Experience Ambiences use the SSAO (Screen Space Ambient Occlusion) lighting technique. This technique is a simplified calculation of the global indirect illumination which produces enhanced realism by taking into account light attenuation due to occluding objects. With this technique, the scene is equally lit with soft shadows and small surface details are accentuated to give more relief. However, it is recommended to have a powerful graphics board because there is a price to pay in performance. Otherwise, you can still deactivate the ambient occlusion effect through the Graphics Optimizer.
Select
then click the ambience of your choice.
- Clean Space
This ambience is intended for models that can be seized (e.g. phone, small furniture) and for models to be used in a photo studio. It is inspired from photo scenes used for shooting products.
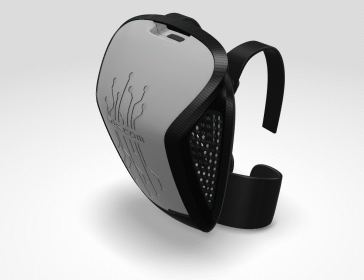
- Crystal Lab
This ambience is intended for luxury materials with reflective properties (e.g. crystal, diamond, glass). It contains a ground, a shadow and a mirror effect. As for the Clean Space ambience, it is inspired from photo scenes used for shooting products.
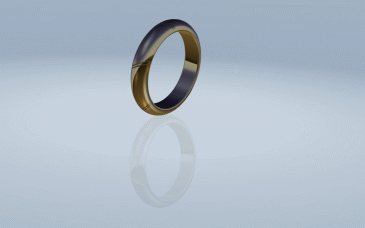
- Dark Mirror
Contains a ground, a shadow and a mirror effect:
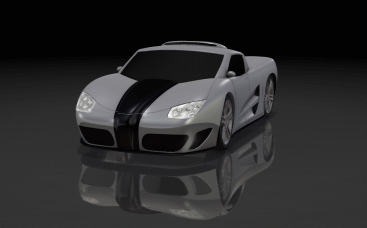
- White Mirror
Contains a white ground, a shadow and a mirror effect:
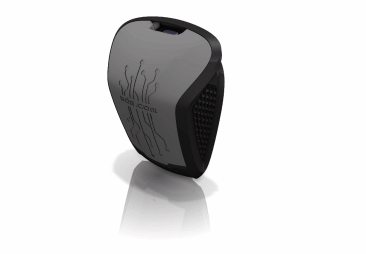
- Outdoor
This ambiance is intended for outdoor review when creating buildings. It contains a sky, a grid, and a ground. In addition to ground shadows, inter-object shadows are also activated.
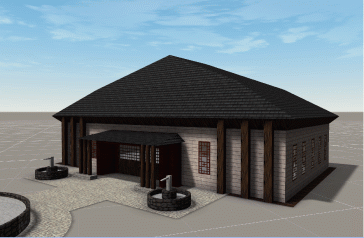
Zoom in or out. The grid moves according to the size of the scene.
When you modify the scene, no shadow is cast on
the ground as long as you press the mouse buttons. Shadows
are displayed as soon as you release the mouse buttons. To switch to another ambience, select
or then choose the appropriate ambience. You can switch between ambiences as needed to work in a
design or review context.
|
![]()


