Optimizing the Graphics Performance

You can use a dedicated command to adapt the V6 user interface to the computer performance (e.g. CPU, graphics board, working context) by modifying the behavior of some visualization commands to make them less performance-consuming.

Performance and more precisely, graphics performance, is a major issue for most softwares. Loading and visualizing complex assemblies often has a negative impact on graphics performance which prevents you from taking full advantage of visualization capabilities.

This functionality is less performance-consuming by optimizing the following visualization commands:


  • Highlight

  • Ambiences available in the View > Ambience menu.


Before you begin: Before running the Graphics Optimizer command in a V6 session, it is recommended to:
  • Close all other applications
  • Close all V6 document windows.

This enables to maximize the computer performance and thus, have a lower impact on visualization commands.

Related Topics
Preselecting and Selecting Using the Pointer
Using Ambiences
  1. Start a V6 session.

    Before the logon panel is displayed, the Graphics Optimizer tests the computer performance and checks that the functionality is available and works correctly. During this testing phase, a window is displayed to give information on the progression:
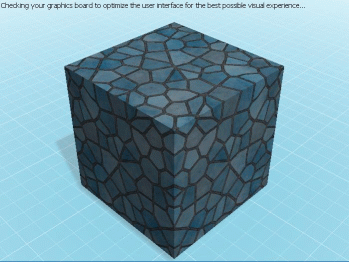
    Important: The Graphics Optimizer is run once per user and per connection. However, it is run again at startup whenever the driver or the graphics board is modified.

  2. Open the object of your choice or, if you have already opened an object, skip this step.

  3. Click any part of the object to highlight it.

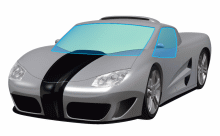
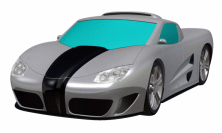
    If the glow and transparency effect for the highlight has been removed, the result is as follows:

    With Graphics Optimizer Without Graphics Optimizer


    The impact on highlight is identical in all V6 windows (i.e. Navigation windows and Authoring windows).

  4. Select View > Ambience > Design Ambiences > Design Icy Blue, for instance.

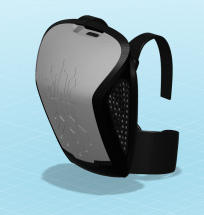
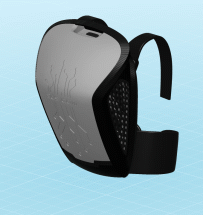
    Depending on your computer performance, the mirror effect, the shadows and the sky might be removed. Below is an example where the shadow has been removed:

    Without Graphics Optimizer With Graphics Optimizer


    Important: There is no impact on the None ambience which uses no shadows and no sky.

  5. Select View > Graphics Optimizer...

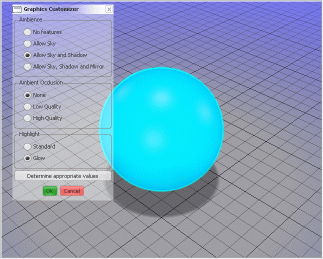
    The user interface lets you customize the optimization level:
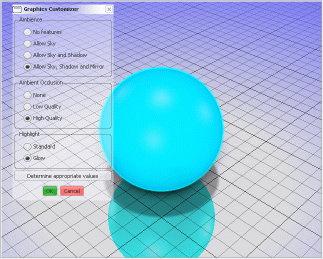
  6. In the Graphics Optimizer dialog box, activate the appropriate options for ambiences, ambient occlusion and highlight.

    The preview is updated accordingly.

    For instance, if you activate Allow Sky and Shadow and None, the ambient occlusion and the mirror effect disappear:
    And the result is as follows with the Dark Mirror ambience, for instance:

    Without Graphics Optimizer With Graphics Optimizer


    Important: Regarding Ambient Occlusion, note that:
    • None means that the effect is deactivated.
    • Low means that the effect is deactivated in dynamic mode and activated in static mode.
    • High means that the effect is activated but slightly downscaled in dynamic mode and activated in static mode.
    • Some options might not be available depending on your computer performance. In addition to this, SSAO is not supported by ATI graphics boards which means that the Ambient Occlusion frame is not displayed at all in that case.

    When the object is moved (rotation, zoom or translation), the Low quality is used to improve performance. If you selected the High quality, it is applied as soon as you release the mouse button.

  7. Click OK to validate.

    The activated options are applied.

  8. Optional: Click Determine appropriate values to run a new performance test in session.

    The impacts depend on the computer performance at the time the command is run: if no V6 window is open, the performance is higher than when several V6 windows plus external applications are open.

    The higher the computer performance, the less impacted the visualization commands.