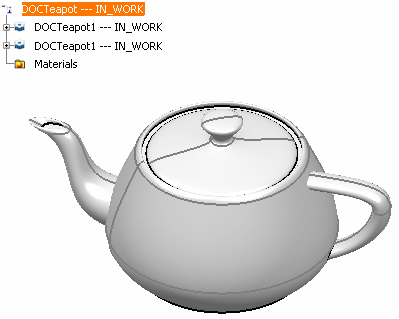
Open a Product.
Throughout this guide, we will often use the Teapot in our
examples.

Refer to Interface Description to access Photo Studio and its Render toolbar.
Select Rendering Tools  . .
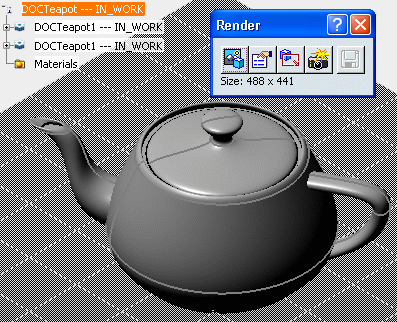
The Render toolbar opens:

This toolbar contains five commands that we will be detailed in this guide. Under these icons, you can find information about the size of your computed image, for example: 343 x 331 pixels.
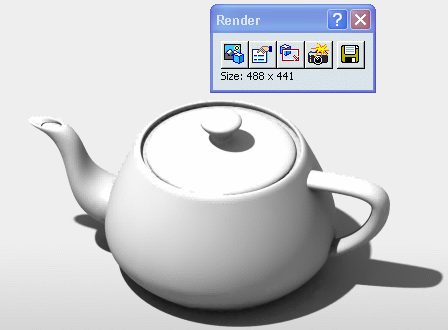
Click Render  . .
The following image is displayed:

Note:
By default, there is always a selected scene but you can select a different one in the list of Predefined scenes or define your own scene (Custom scene).
|