Click Select Scene  in the
Render toolbar. in the
Render toolbar.
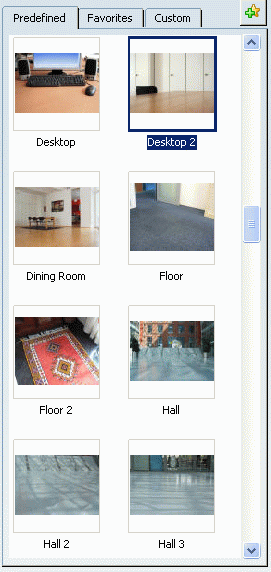
A window with a list of pre-defined
scenes, delivered by Photo Studio, appears:

Note:
This dialog box is made up of three tabs:
- Predefined: you can choose a scene in this list. This is a ready-to-use
catalog.
- Favorites: you can store your favorite scenes (predefined or custom).
- Custom: you can custom your own scene.
Select the scene of your choice ("Desktop 2" in our example) and
click OK.
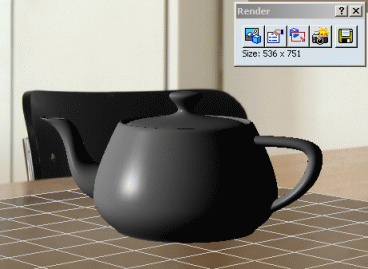
The selected scene is set behind the object:

Click Render . .
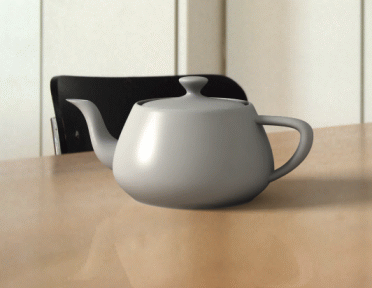
You obtain:

Note:
The Rendering has been calculated on the teapot, and the selected scene has been inserted as a background. The current default lighting is replaced by the predefined lighting of the scene. Moreover, a background image is drawn in the 3D window and a ground is displayed in the 3D window too. These scenes are of a great interest for beginners, because they allow to:
- Have nice, concrete backgrounds without spending time on looking for them,
- Have an immediate and good result without any special knowledge in rendering, because these scenes have been well-set, adjusted at best.
|