Rendering a Scene | |||||
|
| ||||
Open a Product.
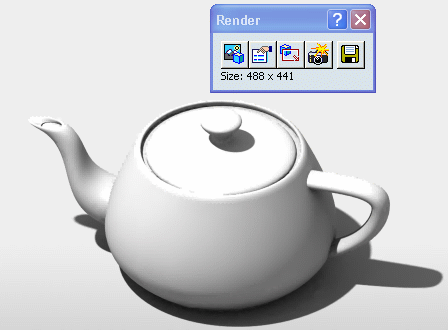
Click Rendering Tools and the Render toolbar appears.
For more information, please refer to the first scenario Selecting a Scene.
Select Render
 ,
in order to calculate the rendering of the geometry within the
CATIA window. As a result, shadows are created under the Teapot:
Note:
- By default, the resulting image size is the same as the viewer. The rendered image is always displayed in the 3D window over the geometry.
- Default lights are taken into account, so only one or two lights can be used. Materials, Realistic Rendering and Stickers are taken into account too.
- When Rendering is in progress, depressing the Render button aborts it.
Important: - In our example, the "Default" predefined scene is used as a Background, but if you had selected another scene ("Desktop" scene for example), earlier or in another CATIA session, it would have appeared here automatically, because this is always the last selected scene that is taken into account.
- When you render an image: the Graph Tree, the Compass, the Robot and the Ground disappear, because the image is calculated above the 3D geometry. In order to make these elements reappear, except for the Ground, press twice the F3 key.
- For information, the Ground can never be seen upon the rendered image; it is used only during the real-time to set the viewpoint with respect to the Background and to the object.
You can also calculate the rendering on a sub-area, for this you need to select first Render a Selected Area
 and then the small area with your cursor on the Teapot. See
Defining a Rendering Area.
and then the small area with your cursor on the Teapot. See
Defining a Rendering Area.Click Render
 .
.
The Render is calculated either on the complete 3D window or on the selected sub-area.
Note: To find out more about Save operations, see Saving Images.