Select Defined Rendered Area
 in the Render toolbar.
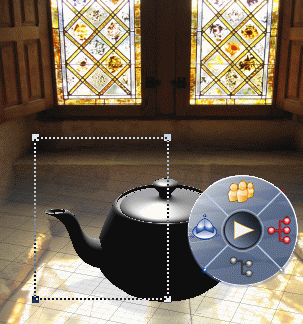
Select an area in the 3D view with your cursor:

Click Render
 . .
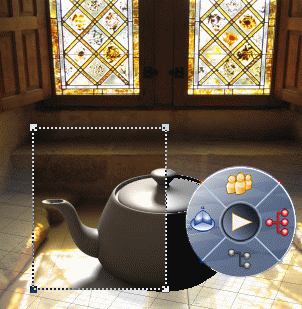
You obtain a rendering view of the selected area only:

Note:
- For information about the Render action,
See
Rendering a Scene.
- If you do not select a sub-area to be rendered, the
whole window is rendered.
Then, you can save your image, by clicking Save
 . .
For more information about saving, See Saving Images. If you want to make disappear this selection, select
Defined Rendered Area
 . .
To reselect another zone, select again Defined
Rendered Area.
|