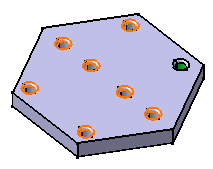
Select the filleted pocket you wish to duplicate.
Note that whenever you are using a feature list, you need to multi-select
the features in the order they were created.
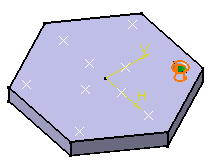
Click User Pattern
 .
.
The User Pattern Definition dialog
box appears. The information "2 elements" appear
in the Object box, indicating that two features are
selected.
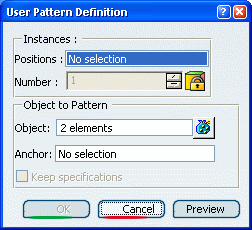
Keep specifications creates
instances with the limit Up to Next ( Up to
Last, Up to Plane or Up to Surface)
defined for the original feature.
The Keep specifications option is
not available for:
-
feature lists
-
patterning patterns.
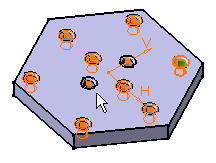
In the specification tree select the sketch including
the nine points you need to locate the duplicated pockets. and click
Preview.
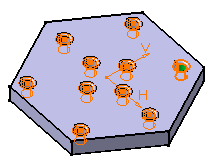
As you just need seven points, click both points you
do not need to unselect them.
Anchor By default, the application positions each instance
with respect to the center of gravity or the element to be duplicated.
To change this position, use the anchor box: click the Anchor
box and select a vertex or a point.
Note that contextual commands creating the anchors
you need are available from the Anchor box:
- Insert Wireframe > Create Point: For more
information, see
Generative Shape Design User's Guide: Creating Wireframe Geometry: Creating Points..
- Insert Wireframe > Create Midpoint: Creates
the midpoint of the line you select.
- Insert Wireframe > Create Endpoint: Creates
the endpoint of the line you select.
- Insert Wireframe > Create Intersection: See
Generative Shape Design User's Guide: Creating Wireframe Geometry: Creating Intersections.
.
- Insert Wireframe > Create Projection: See
Generative Shape Design User's Guide: Creating Wireframe Geometry: Creating Projections..
If you create any of these elements, the application then displays
the corresponding icon next to the Anchor box. Clicking this
icon enables you to edit the element.
Click OK.
The pockets and fillets are created at the
points of the sketch. The specification tree indicates this
creation.
