Set the Fitted option in the Draft Definition
(Advanced) dialog box.
This option lets you perform a draft operation
on two opposite sides of the part while adjusting the resulting
faces on the parting element you chose.

Keep 0.1mm as the parting line adjustment value, and
enter 17 degrees to change the draft angle value you previously set
to the draft.
This excessive value does not reflect angle
values designers usually use, but this lets us quickly see what
happens next. You obtain a draft which is not satisfactory.
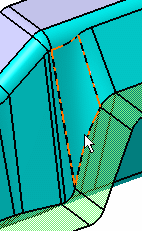
As indicated by the arrow, the curvature radius would invalid
any machining process because it is too small:
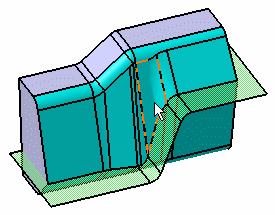
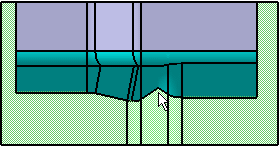
If you click Top View
 from the View toolbar, the curvature radius causing trouble
for being too small, becomes more visible, as pointed to by the arrow:
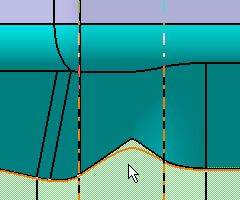
Now, changing the parting line adjustment value to 0.7
mm would add material up to the curve pointed to by the arrow. Consequently,
the curvature radius would be more acceptable.
Changing the parting line adjustment value to 0.9mm
would let you obtain an even larger curvature radius:
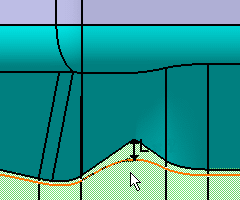
Concretely speaking, when setting the parting line adjustment
parameter, you define a length value that sets a maximum thickness to
be added to the draft to enlarge the wrong curvature radius. As illustrated
in the case just above, that length is represented by L.
The chosen value is 0.9mm, which means that L might be 0.9mm or even
a little bit less.
Considering the rest of the curvatures of the draft feature, depending
on the part shape, that thickness will most often be thinner, but will
never exceed the value you entered.
|