Click View Creation Wizard
 in the Views toolbar (Wizard sub-toolbar).
The View Wizard (step 1/2) : Predefined Configurations
dialog box appears.
Select the desired view configuration.
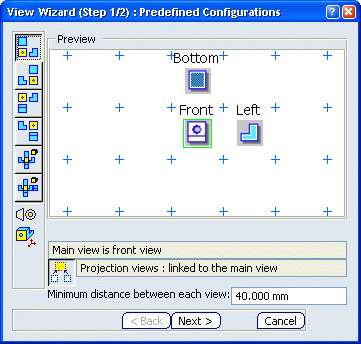
In our scenario, the ISO standard and the first angle projection
method are used. Available configurations are listed in the table below:
| Icon |
Views Created |
|---|
 |
Front, bottom and left |
 |
Front, bottom and right |
 |
Front, top and left |
 |
Front, top and right |
 |
Projection and isometric |
 |
Projection, rear and isometric |
A preview is available. In this preview:
-
The main view corresponds to the view to which any other
view will be linked, it can be either a front or an isometric view, and
it has a green frame. This view will become the active view when you generate
the desired views.
Any other view (front and/or isometric view) that can possibly become the
main view has a black frame.
To turn a view into the main view, right-click it and select Set as
main view.
-
At any time, you can delete a view you inserted. To do
so, right-click the view and select Delete.
-
Once you generate the views, if you move the main view,
all the child views will move accordingly. You can right-click a view and
select View Positioning > Position Independently of Reference View,
if you need to move a child view independently from its reference view.
Click Next > in the View Wizard (step 1/2) : Predefined Configurations dialog box.
The View Wizard (step 2/2) : Arranging the Configuration
dialog box now appears with a new set of buttons. Available views are listed in the table below:
| Icon |
View Created |
|---|
 |
Front view |
 |
Rear view |
 |
Top view |
 |
Bottom view |
 |
Left view |
 |
Right view |
 |
Isometric view |
 |
Clear preview |
Click Isometric View
 .
.
Position the isometric view onto the Preview window
by dragging and clicking it as desired.
Click Finish in the View Wizard (step 2/2) : Arranging the Configuration dialog box.
Select the 3D representation in the 3D window.
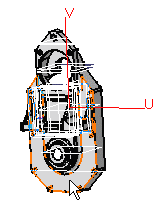
Click the 3D representation plane to be used as reference plane.
If the plane can be computed, the oriented preview of the
3D representation appears as you move the cursor over the 3D representation (planes).
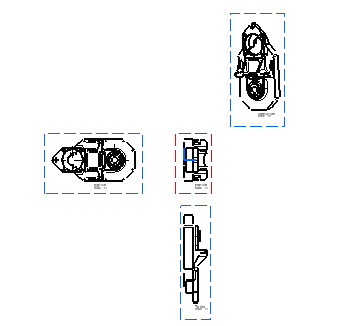
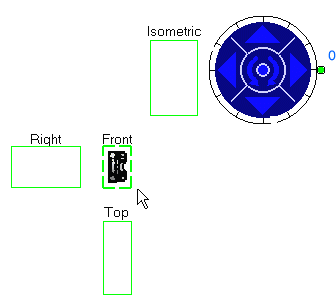
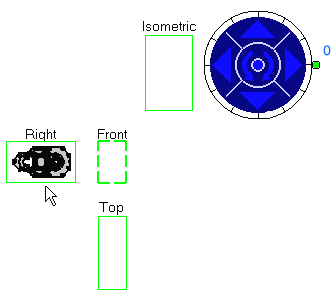
The views now appear on the drawing: they are previewed in
green frames and can be reoriented thanks to the blue arrows that appear.
Go over the view frames with your cursor to visualize them.
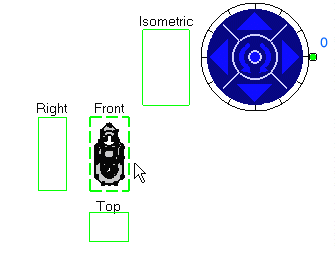
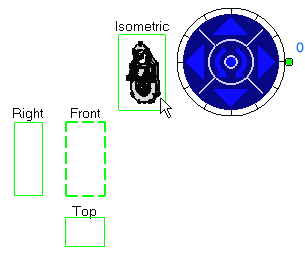
Use the blue arrows to orientate the views as desired. Then,
go over the views with the cursor to check their preview.
Once you are satisfied with the result, click the sheet to
create the views.
The front view is actually the main view and the isometric
view is added to the predefined configuration.
