Click Rib  in the Functional Features
toolbar.
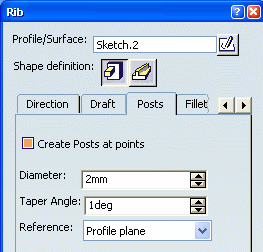
The Rib dialog box appears.
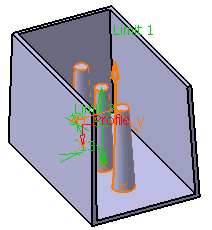
Select a sketch containing three points in the geometry
to define the Profile/Surface box.
Enter 50mm as the first Limit Length.
Click the Posts tab.
Select the Create Posts at points check box.
The application detects the points contained in the selected
sketch.

In the Diameter box, enter a value to define
the rib post diameter which must be greater than zero. Each non-construction
point within the selected profile's sketch is used as the center point
for the diameter. For example, enter 13mm.
The Taper Angle applies to each rib post.
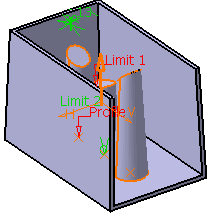
A non-zero angle results in the post taking the geometric form of a
truncated cone. For example, enter 3deg.
Select Preview.

Select First Limit for Reference.
Select Distance tab and select To Plane/Surface
for First Limit. Select Up to Surface in the specification tree.
Click OK to confirm and create the three
posts.
