Click Pattern
 .
.
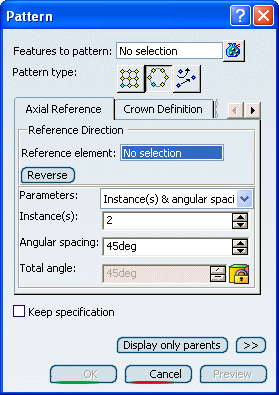
The Pattern dialog box appears.
Click Circular Pattern
 to access the parameters specific to this type of pattern.
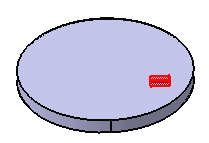
Select Protected Prism.2 as the feature to
pattern.
Click the Reference element box and select
the upper face to determine the rotation axis. This axis is normal to
the face. An arrow indicating the direction is displayed on the functional
body.
Enter 7 as the number of instances you want to obtain
in the first direction.
Enter 50 degrees as the angular spacing.
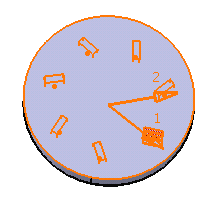
The circular pattern looks like this:
The Parameters box lets you choose the types
of parameters you want to specify so that the application will be able
to compute the location of the items copied.
These parameters are:
- Circle & Circle spacing
- Circle & crown thickness
- Circle spacing and crown thickness
Set Circle & Circle spacing to define the
parameters you want to specify.
Enter 2 in the Circles box.
Enter -24 mm in the Circle spacing box.
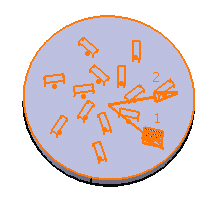
Enter 2 in the Row in angular direction box.
The initial protected prism as well as the instance nest to it are slightly
moved in the angular direction.

Entering 2 in the Radial direction box makes
the instances of the crown move in the radial direction as illustrated
below:
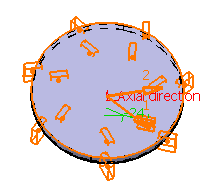
Click OK to confirm the operation.
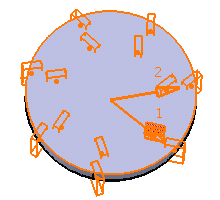
The circular pattern composed of 14 instances is created:
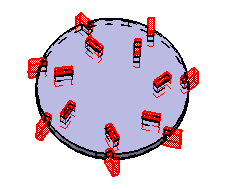
Circular Pattern.X is added
to the specification tree in the Solid Functional Set.X node.