Creating and Editing Branch Points | |||
| |||
Create a Standard Branch Point
You can create standard branch points on the existing branch segment.
In the Branch Definition dialog box, click Segments Definition.
The Segments Definition dialog box appears:

Click Add Branch Point
 .
.
Move the pointer over a segment to highlight the end, at which the reference point that lets you position your branch point will be placed.
Select the segment.
The Branch Point dialog box appears.
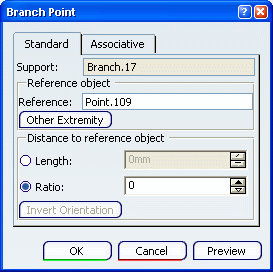
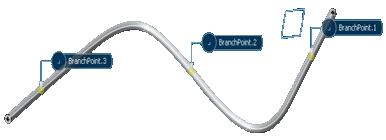
The reference point is positioned at the end of the segment closest to your selection. A blue square visualizes the location of the branch point.
In the geometry area, move the blue square along the curve to a location, where you want to create the branch point.
The distance to reference point is updated in the dialog box.
Alternatively, set the distance in the dialog box by entering a:
- Length from the reference point
- Or, a segment ratio.

![]()
Create an Associative Branch Point
You can also create an associative branch point.
In the Branch Definition dialog box, click Segments Definition.
The Segments Definition dialog box appears:
Click Add Branch Point
.
Select a segment.
The Branch Point dialog box appears.
The reference point is positioned at the end of the segment closest to your selection. A blue square visualizes the location of the branch point.
Select the Associative tab:
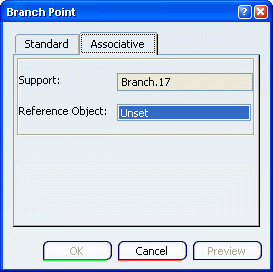
The reference object must be a planar bi-dimensional element.
You can also select the plane from several branch points.
Note: The associative branch point is based on the chosen plane. If the plane or the curve is modified, then the branch point is updated as long as it remains on the original segment. If the plane does not intersect with the branch, the branch point is no longer associative but standard.
![]()
Edit Branch Points
You can edit branch points. The Branch Point representation is an electrical feature. This object can be seen in the Edit > Find menu and in Knowledge tools.
Right-click the branch point representation and select Branch Point.
The Branch Point dialog box appears:
Notes:
- You can only select the following references: segment ends, routing points, protection ends on a branch.
- You do not obtain the same result if you double-click a point on a curve: only the Point Definition dialog box is available.
It is not possible to modify a branch point representation through the Point on Curve command.
Important: During the lifecycle of a branch point, several scenarios can lead to a discrepancy in the geometrical definition of the branch point representation. A message will be displayed each time a branch point does not fit the following criteria: - A branch point should always be strictly located between its corresponding segment ends.
- A branch point should always reference a point that is part of the current branch route or another branch point on the current branch.
- If the branch point position is inverted with respect to its normal position that leads to the update error of an internal segment split.
- If the branch point does not reference any object.