In the Electrical Part Design workbench, select
Insert > Multi-Protective Covering
 .
.
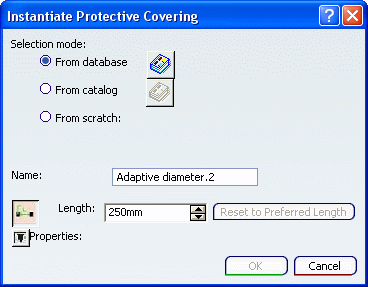
The Instantiate Protective Covering dialog box
appears:

To retrieve a protective covering, do one of the following:
- Select From database, then click Browse and retrieve a protective covering from the
database or your session.
- Select From catalog, then click Browse
and retrieve a protective covering from a catalog.
In the Length box, enter a length.
Note: When adding coverings, any change in length impacts
all coverings added.
Select a segment end.
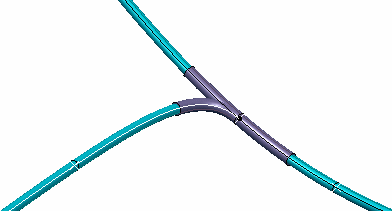
Protective coverings of the specified length are added to
the selected segment and all segments having the same properties are connected at the selected
point.

Click Reset to Preferred Length if you want to set the Preferred Length for the
protective covering.
The Preferred Length is the length of protective covering defined during its creation.
Click OK when done.
One covering entry per segment is added to the specification
tree.

Note: Once added, coverings are managed individually.