Access the PLM Chooser
The PLM Chooser can be accessed from commands requiring a query on objects.
Select . In the Product Visualization tab, deactivate the Activate immersive search option. The standard PLM Chooser is now activated instead of the immersive PLM Chooser which is the default. For more information about the immersive PLM Chooser, see VPM Physical Editor User's Guide: Using Immersive PLM Chooser. In the VPM Physical Editor workbench, select or any other geometrical object available from the Insert menu. You can run this command either from an empty product (e.g. a product you just created through ), or from a product which already contains geometrical objects. In this scenario, the command is run from an empty product. In the geometry area,
select the product in which the object is to be inserted. You can also make your
selection in the geometry area first, then run the Insert
command.
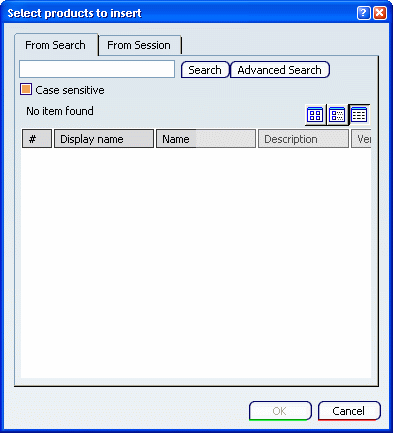
The picture above shows the default interface but
note that it can be customized by the workbench in which it is
implemented.

Load Objects From a Search
You can search for objects stored in database then load them in your V6 session.
Enter your search criteria in the empty box (with or
without wildcards).
The query is run only on attributes that are part of the
identifier set. The identifier set lets you associate a
list of characteristic attributes to a given object.
Click Search.
By default, search results are displayed in Details
 mode:
mode:
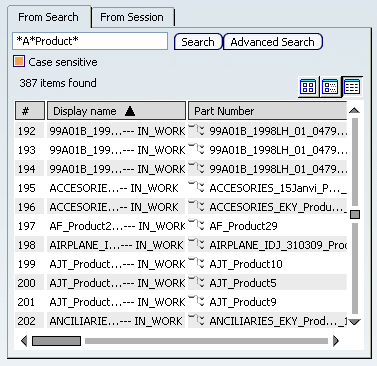
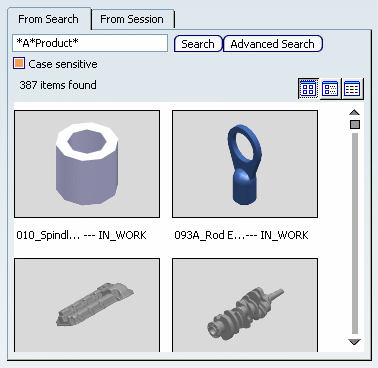
Optional: To display search results in Thumbnails mode, click
Thumbnails
 : :
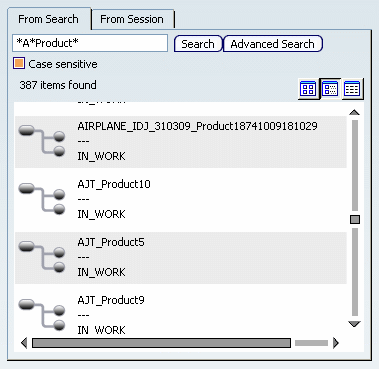
Optional: To display search results in Tile mode, click Tiles
 :
:
To launch a query on each attribute (and not only on the
identifier set), click Advanced
Search.
See
Advanced Search for more information on this dialog box.
Click Apply to launch the query or OK to launch the query and close the dialog box.
Select the desired objects (multi-selection is supported) from the search results then click OK.
The objects are inserted and the PLM Chooser is closed:
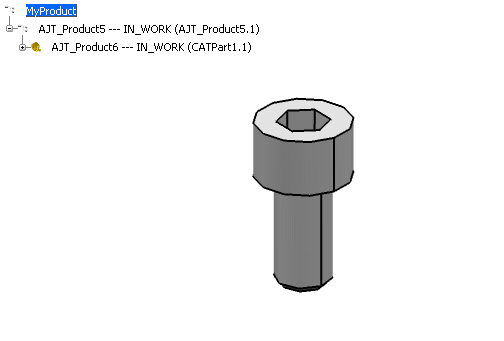
For more information on inserting objects, see VPM Physical Editor
User's Guide: Inserting PLM Objects in an Existing Assembly.

Load Objects From a Session
You can search for objects loaded in your V6 session then insert them in the current window.
To select an object from your session, access
the From Session tab:
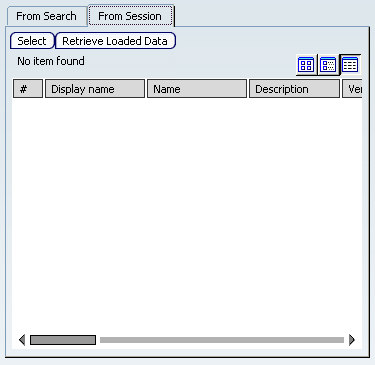
This tab lets you select the objects you want to use in:
- A VPM Physical Editor window
- A Search Results window
- Any Navigation window.
Click Retrieve Loaded Data.
All objects already loaded in your session are displayed:
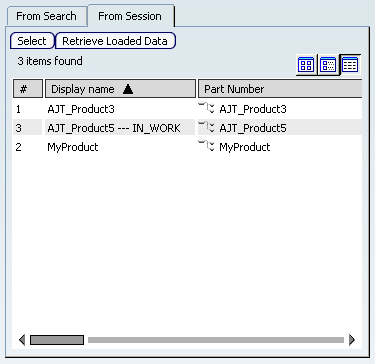
In the result list, select
the object to be inserted.
Optional: To interactively select the objects to be
inserted, click Select in the PLM Chooser then
directly choose your object from either an open
VPM Physical Editor, a Navigation window,
or a Search Results
window:
- In VPM Physical Editor, select an
object in the tree.
- In Navigation windows, select
either an object in the tree, or select its
representation (the ability to select an object from a
Navigation window is especially
helpful because your tree can be a filtered view of the product
structure).
It is also possible to select a reference attached to a
folder from the Folder Editor workbench open in the current
session.
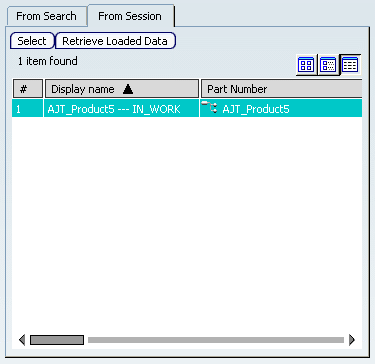
When you select an object, it
automatically replaces any objects already displayed in the PLM
Chooser result list and the newly selected object is
highlighted:
Click OK to insert the object or double-click
the object.

Load Objects From a Session - Example
This task illustrates how you can use the From Session tab.
To do so, let's suppose two products open in two different windows in a V6 session, AJT_Product3 and AJ_Prod1:
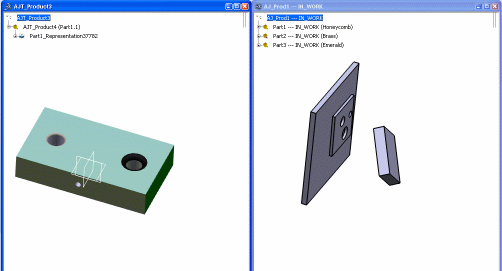
You want to insert a part from AJ_Prod1 (in our example, we will insert Part3)
in
AJT_Product3. To do so:
Select AJT_Product3 in the geometry area before
selecting . In the PLM Chooser, click From Session. Click Select then select Part3 in
the geometry area.
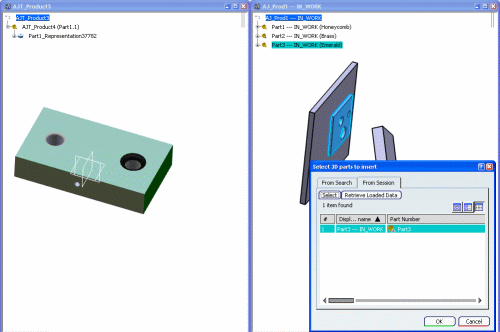
The selected part is displayed in the PLM
Chooser.
Click OK.
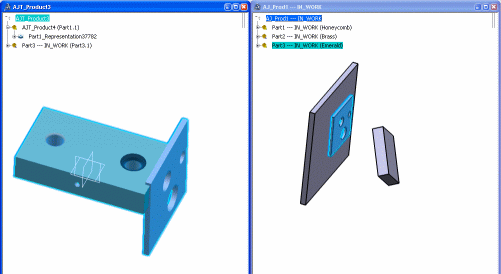
The selected object is inserted in AJT_Product3.

Load Objects From a File
The From File tab lets you import external data in your session. If
the application you are using requires external data, the From File
tab is displayed in the PLM Chooser.
Otherwise, this tab is not displayed.
The application can specify any kind of file formats. If no format has
been defined, the default file formats are listed below:
| *.bmp |
*.pdf |
*.xlsb |
| *.csv |
*.png |
*.xlsm |
| *.doc |
*.ppt |
*.xlsx |
| *.docm |
*.pptm |
*.xlt |
| *.docx |
*.pptx |
*.xltm |
| *.gif |
*.prn |
*.xltx |
| *.jpe |
*.tif |
*.xml |
| *.jpeg |
*.txt |
|
| *.jpg |
*.xls |
|
Extensions are filtered according to the application you are using.
The scenario below takes a design table as an example but the use of
the PLM Chooser is identical whatever the context. For detailed
information about specific object attributes, see the documentation of
interest.
Create a sample as explained in
Creating a Design Table from a Pre-existing File. In the Knowledge toolbar, click Design
Table
 . .
The Creation of a Design Table dialog box opens. For
more information, see
About the Design Table Dialog Box.
Click OK.
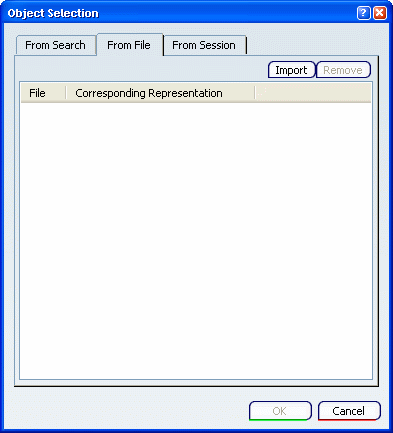
A design table is designed to drive the parameters
of a V6 document from external values. These values are
stored in the form of a table either in a Microsoft Excel file on
Windows or in a tabulated text file. Therefore, you need to use the From File tab to
import external files in V6.
In the From File tab, click Import. Select the type of file in the Files of type
box (in our scenario, we import a .xls file) then browse your file tree
to select the file to be imported.
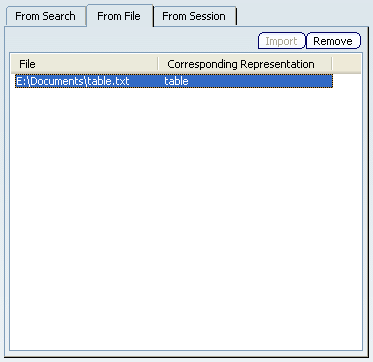
Click Open then enter at least a
representation name (a default one is provided). Clicking Finish to import the file in the PLM
Chooser:
Click OK to validate. A dialog box asks you whether you want to perform
automatic associations between the design table columns and the document
parameters which have the same name: click Yes.
A multi-row design table is created.
When you click Edit table... (at the bottom of the
dialog box), you can see that the values stored in the file you
imported are displayed.
|

![]()

![]()
![]()
![]()


