In the Search box of the Bar, search for a project space by entering enter a search string and click Search.
A list of project spaces corresponding to your search criteria
appears.
Right-click the selected project space and select Explore.
The project space is explored in Project Viewer.
Right-click the project space root and select Expand All.
The objects available under the project space is displayed.
To view all the documents present within the selected CBP Document, select the CBP Document displayed under Workspace Vault and press Spacebar.
A Live Preview of the CBP document displaying the list and content of the files appear.
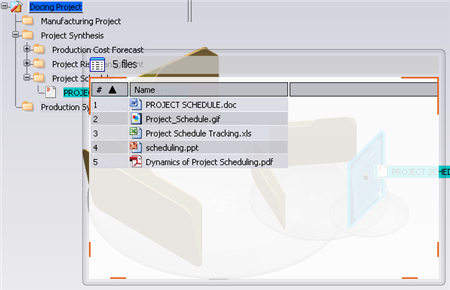
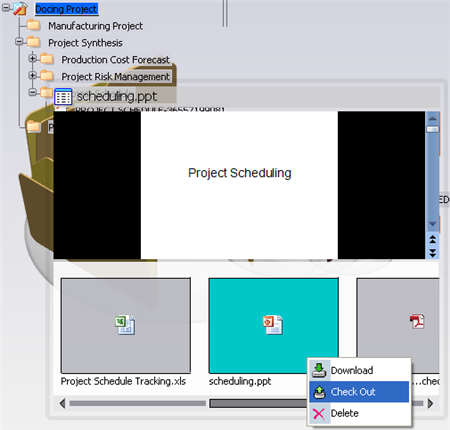
Select Thumbnails, to view the list and content in the thumbnail mode.

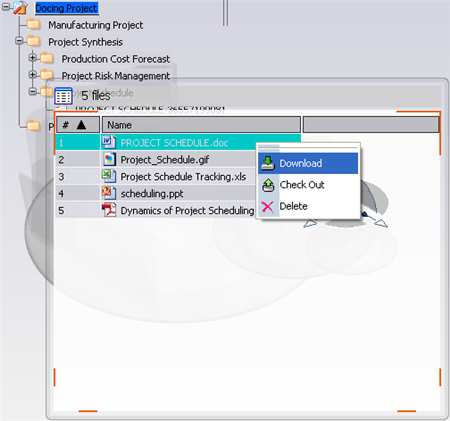
To open and save the downloaded file, right-click the selected file and select Download.
The Choose File Location And Name dialog box appears.
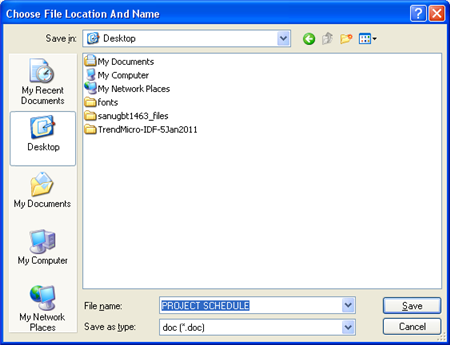
Select the directory where you want to check out the document file and click Save.
A message appears on the top right corner of the screen indicating that the command is successful. The selected file is downloaded in the directory with the same file name.
To open and save the checked out file, right-click the selected file and select Check Out.
The Choose File Location And Name dialog box appears.
Select the directory where you want to check out the document file and click Save.
A message appears on the top right corner of the screen indicating that the command is successful. The document is checked out into the selected directory. You can now view and make changes to the document.
To check-in the file, right-click the selected checked out file and select Check In.
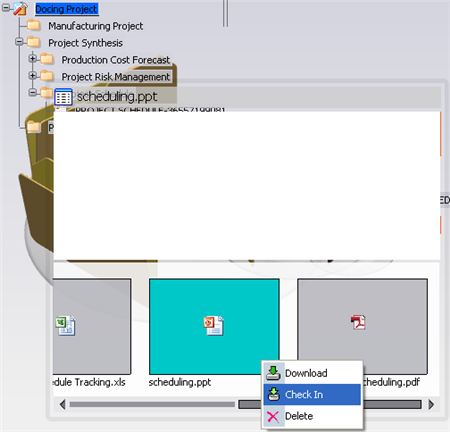
The Select File dialog box appears.
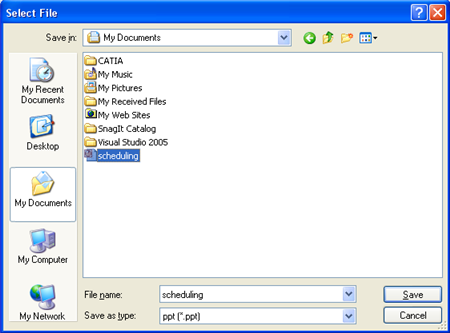
Select the directory where you want to check in the document file and click Save.
A message appears on the top right corner of the screen indicating that the command is successful.
Note:
You cannot enter your comments on the checked in file.
To remove the file, right-click the selected file and select
Delete.
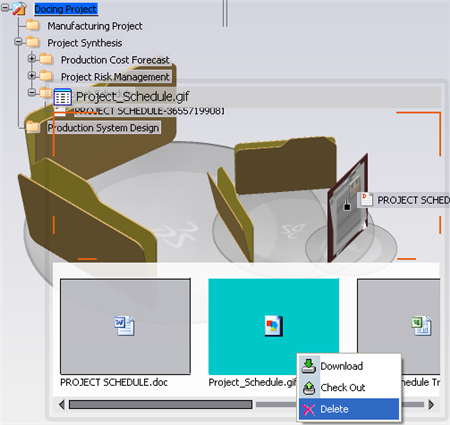
The File Deletion Confirmation dialog box appears.
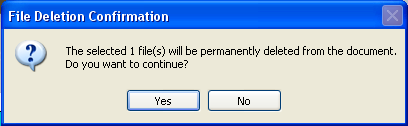
Click Yes, if you want to delete the selected file.
The file is removed from the CBP document.
To add new files to the CBP Document, right-click the CBP Document
and select Add/Update File.
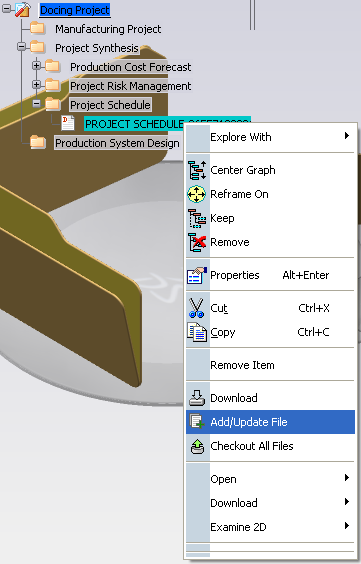
The Select File dialog box appears.
Select the file or enter the name of the file in the File name box
and click Save.
A message appears on the top right corner of the screen indicating
that the command is successful. The file is added under the CBP
Document.
You can also update the file by performing Drag and Drop. For more information about updating the documents, see Using Drag and Drop.
