Creating CBP Document | ||||
|
| |||
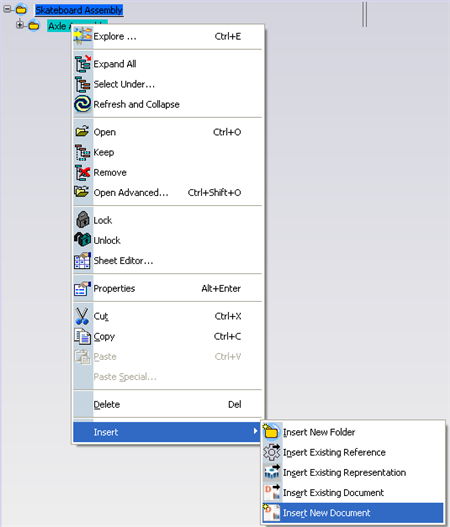
Right-click and select Insert > Insert New Document or click Insert > Insert Existing > Insert New Document.
The Sub Types dialog box appears.
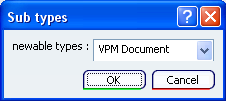
In the newable types list, select Document or Generic Document, to create a CBP document. Depending on the selection of the document type, the respective dialog box appears. If you select Document or Generic Document from the newable types list, the Document or Generic Document dialog box appears.

In the Document dialog box, enter the name of the document in the File Name box. Select the Files Information tab to insert the document and comments.
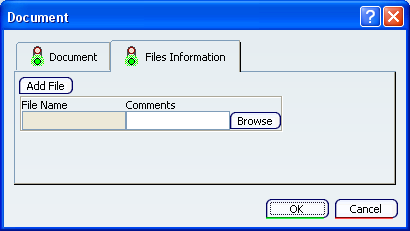
Click Browse, to choose a file from the windows file system. The Select File dialog box appears.
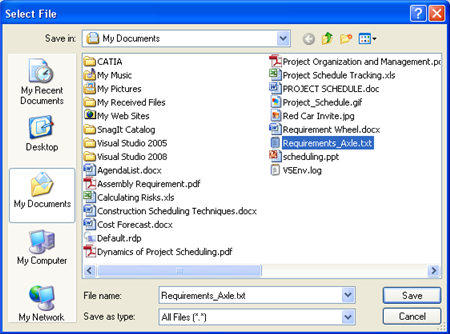
Select the file or enter the name of the document in the File Name box and click Save.
The Select File dialog box is closed. The selected file is displayed in the File Name box of the Files Information tab.

You can insert comments about the file in the Comments box.
Note: To select multiple files, click Add File. Simultaneously, a row gets added.
Click OK.
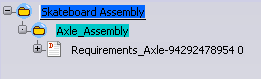
The CBP document is displayed under the non-root folder node.
Important: You can create a CBP document: - in VPM Navigator, while attaching a document under a Product, follow the task from Step 2 to Step 6
- in FolderEditor, under a Folder, by using Drag and Drop.