Select Start  > Infrastructure > Project Resource Management.
The Project Resource
Management Editor appears. The left frame displays a list
of all the projects and the associated resource sets. The right
frame displays the resource sets for various applications.
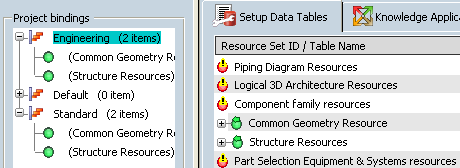
Right-click Structure Resources and select Create a new Resource
Table.
The New PLM Type/PLM Resource Set
Custo dialog box appears.
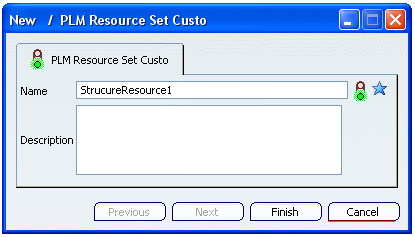
Type a unique Name
for the resource table and click Finish.
Note: You can also open an
existing resource table. Right-click the resource table and
select Open the selected Resource Table.
The Application Resource
Table appears. It displays the logical names of all the
setup data items. The resource for the setup data is unset.
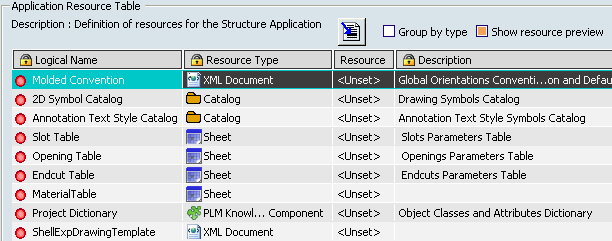
Select Endcut Table.
In the Resource
column, double-click or right-click <Unset> and select
Choose the assigned resource.
The Select dialog
box appears.
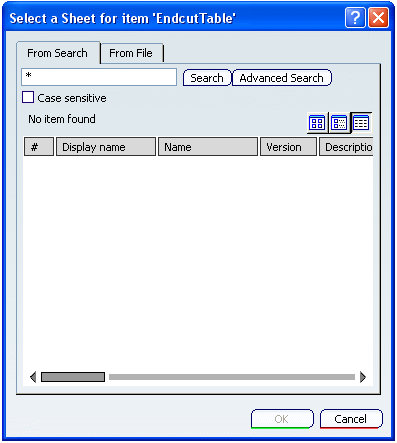
Search the resource you want
to assign to the setup data. You can also import the resource
file using the From File tab. Importing saves the
file in the database.
Select the desired resource
file and click OK.
The name of the selected
resource appears in the Resource column. The
Resource Preview window displays the list of resources
in the file.
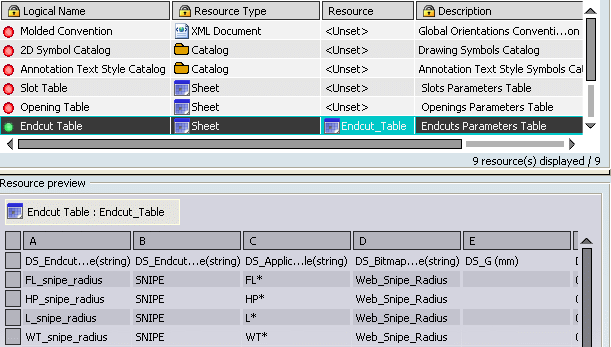
Similarly assign remaining resources.
Click OK to return
to the Project Resource
Management Editor.
Select PLM Access >
Propagate to save the changes.
Note: If you click Close
without propagating, a warning message is displayed. Click
Yes to save the changes.