In the specification tree, select the 3D Representation under which
you want to create the shell. Click Panel  in the Authoring Object toolbar. in the Authoring Object toolbar.
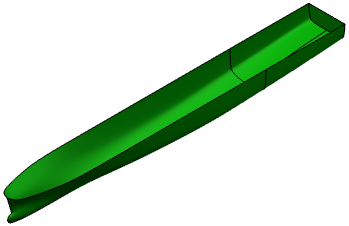
The Plate dialog box appears. In Category box, select Shell as the category of the plate you want to create. In the Name box, if the Automatic check box is selected, name is automatically assigned to the plate based on the object naming function. To assign a name manually, clear the check box and type the name. In the design or specification tree, select hull as the support for the shell. After you select the support, it appears in the Support box in the Plate dialog box and the shell is placed over the hull in the design.
Select the Material and Orientation
tab and enter details. For more information, refer to Material and Orientation section in Plate Dialog Box.
Click OK.
The shell is created.
|