Right-click the material behavior in the specification
tree then select xxx_Rendering object > Definition to display
the Rendering Properties dialog box.
Select the Texture tab then select
Marble in the Type list.
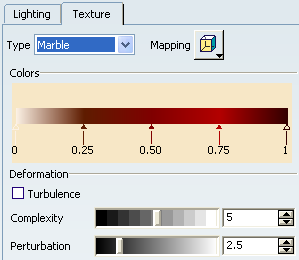
When a 3D texture is selected, the corresponding
texture image is projected onto the object in the geometry area so that
you can get a better idea of the final result:
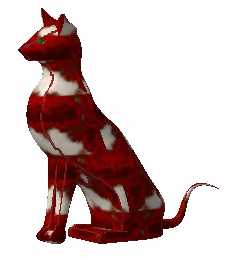
However, note that:
- the projected image does not reflect exactly what you
get when rendering the image
- the texture has a low resolution in order not to deteriorate
performance and as a consequence, the image projected onto
the object may sometimes be pixelated.
To modify the lighting color effect of the half-vein,
just click the desired arrow then drag it to the left or to the right
to change the width of the corresponding color. You can also drag an
arrow down to disable the corresponding color:
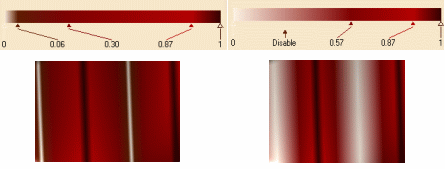
Note that if you double-click an arrow, the
Color chooser is displayed to let you select the desired
color.
The Deformation area lets you define noise
parameters.
Refer to About 3D Textures for detailed information.
Use the Bump area to define an
Amplitude value but this time, in order to create an "embossing".
Use the Transformation area to adjust
the mapped texture.
Click OK when satisfied with your parameters.
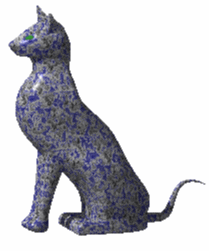
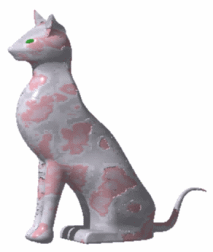
The two images below compare the
different results you can obtain using a standard texture and a 3D texture
of type Marble:
