Click Rigid Route  in the Compass Toolbar.
The 3D Part / Product DS appears.
Enter details and click Finish.
The balloon appears.
Choose
Select  > Port
 in the balloon.
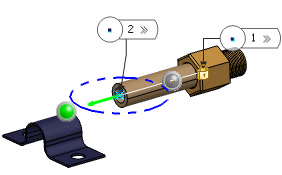
Select the part you want to route from.
All the ports on the part are displayed with the active port displayed in different color.
Select
the port you want to route from.
The beginning of the pipe is created.

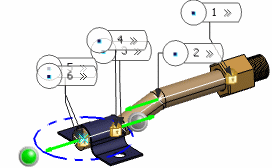
Select the first support you want
to route through.
The port on the support
part is highlighted.
Select the port on the support.
The pipe is created through the support.

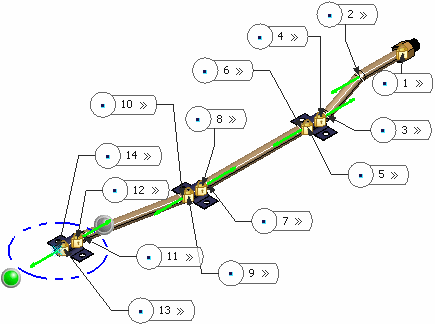
Continue routing through all the supports in
your document.
Click Exit and Activate Parent  to exit the command.
Route is created passing through all support parts.
