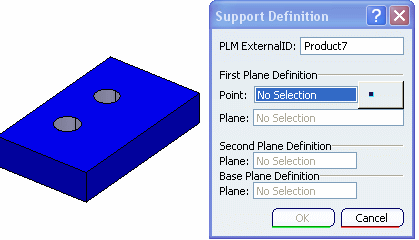
Click Support
 in the Technological Behavior toolbar.
The Support Definition
dialog box appears. To define the part as a support part simply
select it (if it is not already selected).

Create one or more ports.
Note:
You need to define two points, because
support ports are of the 'hole' type and extend from one end
of the part to the other end.
- To begin, click the
Point button.
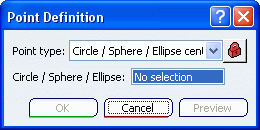
The Point Definition dialog box appears.

- Select a point definition method.
For more information, see Generative
Shape Design User's Guide > User Tasks > Creating Wirefame Geometry.
In this example the Circle/Sphere...
method is used.
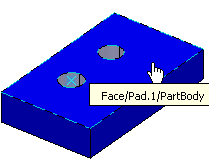
Select the circle to create
a point.
In
this example the face of the part is selected. The plane you
select must be on the same plane as the point.

Define a plane for the
Second Plane Definition.
This defines
the other end of the port. The second plane must be parallel to the
first plane.
Click OK to
create the port.