Click Global Feature Recognition
 in the Axial Machining Operations toolbar.
The Global Feature Recognition dialog box appears.
Go to the Basic tab.
- Select
the Hole check box to create axial machinable
features only.
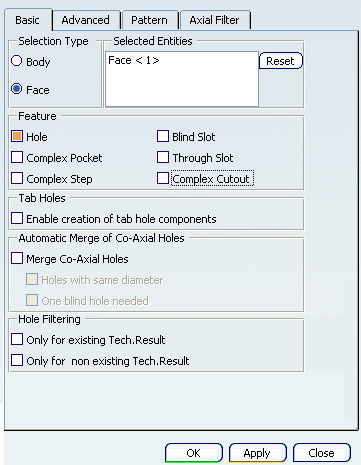
- Select the top face of the part in the
authoring window.
Go to the Pattern tab and set
the parameters for pattern creation.
See Creating a Machining Pattern on Machinable Features
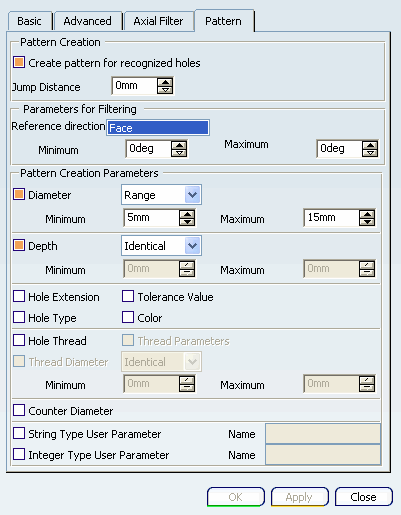
A pattern is created on threaded holes whose diameter is included
in a specified range of diameters (that is, between
17 and 20mm).
Click Manufacturing View
 and display the view sorted by patterns.
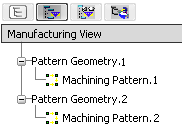
The created machining pattern is
displayed.
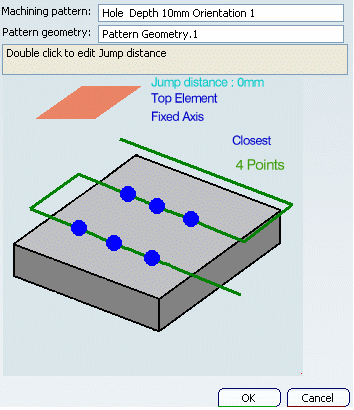
Double-click the machining pattern
node in the Manufacturing View to display the Machining Pattern dialog box to
obtain more information about the pattern.
Click Manufacturing View
 and display the view sorted by machining features.
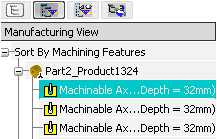
The created machinable axial
feature is
displayed.
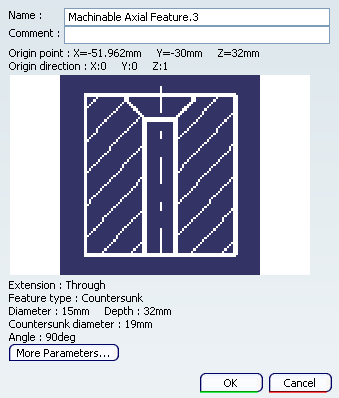
Double-click the machinable axial
feature node in the Manufacturing View to obtain more
information about the feature.
- Click More Parameters....
The More Parameters dialog box appears.
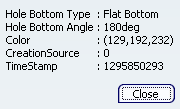
This dialog box shows all the additional parameters. User parameters
can also be found in this dialog box. If there is no additional
parameter found then More Parameters... button remains
disabled.