Creating Multi-sections Solids | |||||
|
| ||||
Create a Basic Multi-sections Solid
You can create a basic multi-section solid using the section curves and the guide curves.
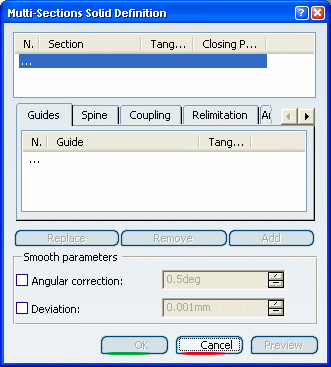
The Multi-sections Solid Definition dialog box appears.
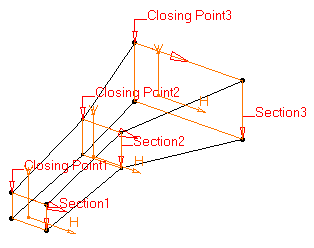
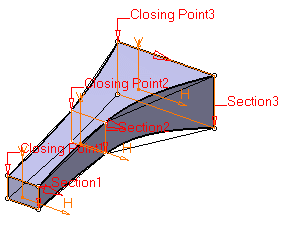
Select the three section curves as shown:
They are highlighted in the geometry area.
Important: The Multi-sections Solid capability assumes that the section curves to be used do not intersect. Click Preview to get an idea of the feature to be created.
You can note that by default, tangency discontinuity points are coupled:
Important: In case you do not have a GS1 nor GSD license but a WS1 license, you can select two sections only and you are not allowed to perform manual couplings. Click OK to create the volume.
The feature (identified as Multi-sections Solid.xxx) is added to the specification tree.
Important: When a Multi-sections Solid feature is copy-pasted, the sketches used are not duplicated. The duplicated feature points to the already existing sketches. This behavior is specific to Multi-sections Solid. For Pad, Shaft and others features, sketches are duplicated while features are pasted.
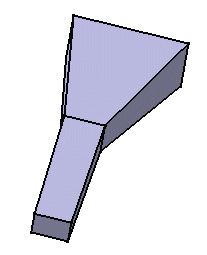
![]()
Create a Basic Multi-sections Solid Using a Law
You can define the law that will be used to create the multi-sections surface.
But first, let's open the Generative Shape Design workbench.
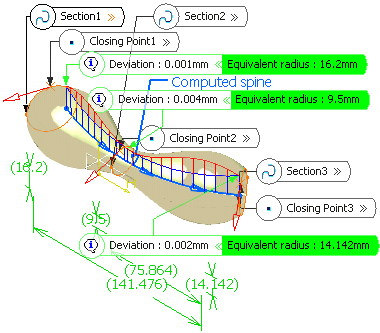
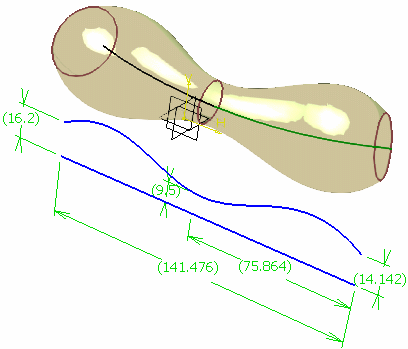
In our example, three sketches with closed contours have been created and filled. A spine between these sections have been created:
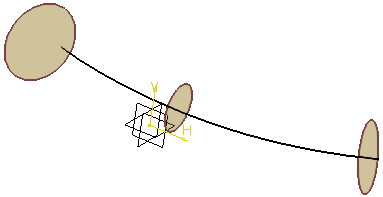
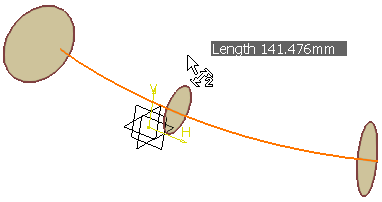
Click Measure
 to compute the geodesic length of the spine:
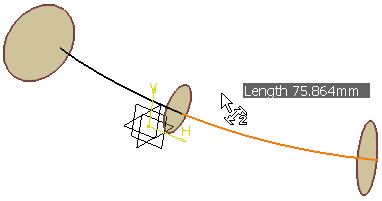
Click Split
 to split the spine by the section plane.
Click Measure
again to compute the geodesic length of the resulting curve:
Using the Sketcher, create a line and a curve corresponding to the previous computed lengths.
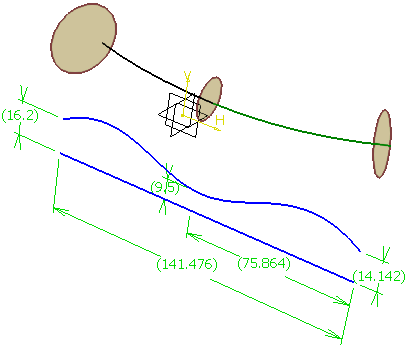
Important: Radius values (16.2, 9.5 and 14.142) are similar to the radius values of the corresponding sections (that is R=√(A/π) where A is the section area). Click Extract
 to create separate elements of the line and curve.
Click Law
 to create the law from the previously extracted elements.
Click Multi-sections Surface
 .
.
The Multi-sections Surface Definition dialog box appears.
Click OK to create the multi-sections surface.
Important: You can select the Display computed area law check box to display in the 3D geometry: - In red, the area law
- In blue, the sections areas and a flag on each section that displays the deviation between the area law and the sections areas as well as the equivalent radius of each section.