Editing Pathway Points | |||||||
|
| ||||||
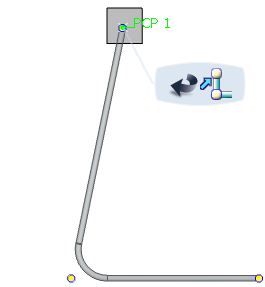
 . The existing points on the pathway are highlighted.
 . The last action will be reversed.
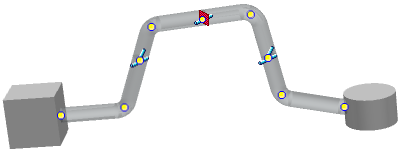
Create a Point on a Pathway
This section describes how to create a passing point, branch point or a production break point on a pathway or segment.
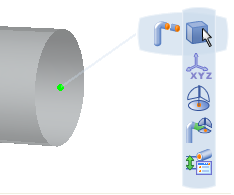
Click the pathway at the location at which you want to create the point.
A balloon appears.
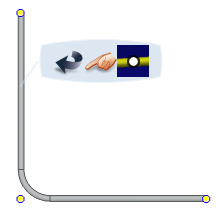
In the balloon, click Point Creation
 .
.In the balloon, select the type of point you want to create:
 Passing Point
 Branch Point
 Production Break
The point is added to the pathway (in this example, a
 branch point).
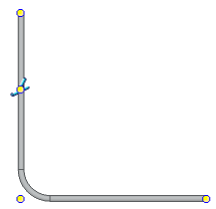
![]()
Modify the Tangency
This section describes how to change the pathway curve tangency at a pathway extremity point or a passing point.
Note: You cannot modify the tangency of points on a pathway which has Curve Build Method set to Cornered Polyline.
Click the passing point or extremity point at which you want to change the pathway curve tangency.
A balloon appears.
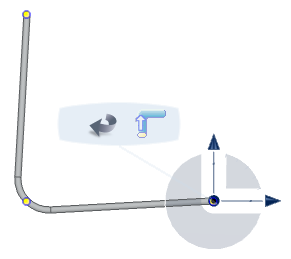
In the balloon, click Modify Tangency
 .
.In the 3D view select the object or element which will provide the reference direction for the tangent.
A red arrow indicating the tangency direction appears on the point and the pathway curve is modified accordingly.

When finished, click anywhere in the 3D area.
Note: When a tangency has been defined on a point, the balloon displays an additional option Remove Tangency
 . Click this option
to delete the tangency from the selected point if required.
. Click this option
to delete the tangency from the selected point if required.
![]()
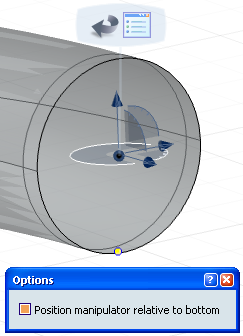
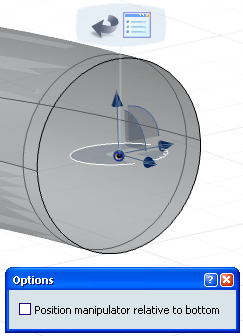
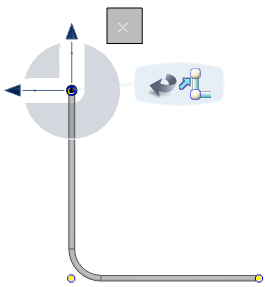
Modify the Manipulator Options
This section describes how to re-position the manipulator with respect to the bottom of the pathway at a pathway extremity point or a passing point.
By default, the manipulator is positioned along the center line of the pathway.
In the balloon, click Options
 and then select the Position manipulator relative to bottom check box in the dialog box that opens.
The yellow manipulator is seen at the bottom of the pathway section.
![]()
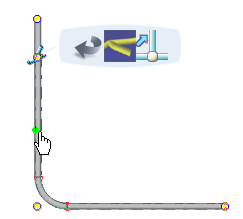
Delete a Point
This section describes how to delete a pathway extremity point, a passing point, a branch point and a production break point.
In the balloon click Point Deletion
 .
.The point is deleted.
Note: A pathway must have at least two passing points. Therefore you cannot delete the last two points in a pathway.
![]()
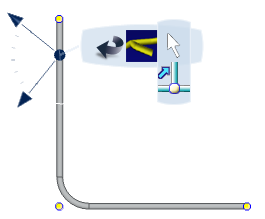
Move a Passing Point
This section describes how to change the position of a passing point.
Select the passing point or passing points you want to move:
- To select one passing point, click the point.
- To select more than one passing point, Ctrl-click each point.
- To select a range of passing points, Shift-click the first point and then Shift-click the last point.
A balloon appears and the robot is positioned on the point.
Drag the base plane and/or the axes of the robot to reposition the passing point.
If necessary, you can snap the robot onto another surface to realign the base plane prior to dragging the passing point.
The passing point and pathway are repositioned.
![]()
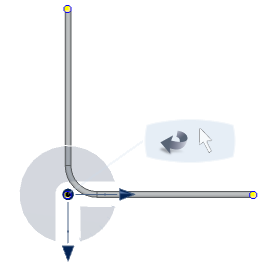
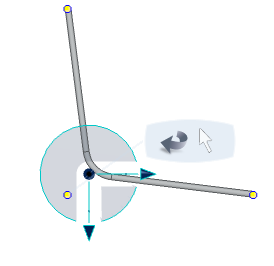
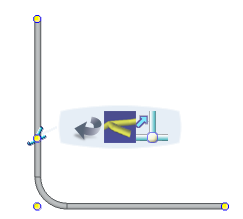
Move a Branch Point or Production Break Point
This section describes how to change the position of a branch point and a production break point on a pathway.
Click the branch point or production break point you want to move.
A balloon appears and the robot is positioned on the point.
In the balloon click Modify Location
 .
.Click the pathway at the new location for the point.
Note: You cannot select a location past an existing branch point or production break point or past a pathway extremity point.
The point is moved to the new location.
 .
.
![]()
Continue a Pathway Route
This section describes how to continue the route of a pathway.
In the balloon click Continue Route
 .
.A balloon appears.
In the balloon choose a method of positioning points and continue routing the pathway as if you were creating a new pathway.
Note: You can switch from the Continue Route mode to the Edit Pathway mode, either by pressing the Escape key or by selecting Edit Pathway
 in the balloon.
When finished, in the balloon click Exit Command
 .
.
![]()
Convert a Branch Point or Production Break Point
This section describes how to convert a Branch Point to a Production Break Point and vice versa.
In the balloon click one of the following (depending upon the type of point you selected):
- Convert Branch Point to Production Break Point
- Convert Production Break Point to Branch Point
The point is changed.
-