Creating Specialized Pathway and Segment Types | |||||
|
| ||||
If it is not already open, open the Logical 3D Architecture workbench; click Start
 > Systems > 3D For Logical Systems > Logical 3D Architecture.
Open the Types Customization workbench; click Start
> Infrastructure > Types Customization, in the dialog box enter a Name for the component and then click Finish.
Click Create Technological Type
 and in the Create Type dialog box:
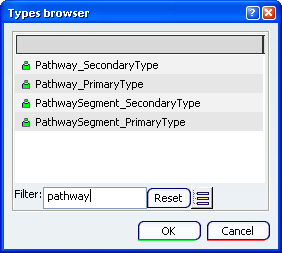
- In Father type, click ... to open the Types browser dialog box and select PathwaySegment_PrimaryType, PathwaySegment_SecondaryType, Pathway_PrimaryType or Pathway_SecondaryType and then click OK.
(Enter Pathway in the filter box to find these types quickly).
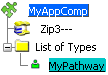
The new technological type is added to the specification tree under List of Types.
- In Father type, click ... to open the Types browser dialog box and select PathwaySegment_PrimaryType, PathwaySegment_SecondaryType, Pathway_PrimaryType or Pathway_SecondaryType and then click OK.
In the specification tree, select the type you just created, click Add Attribute
 and in the Create or modify attribute dialog box:
- Enter values for Name, Parameter Type and Attribute Value.
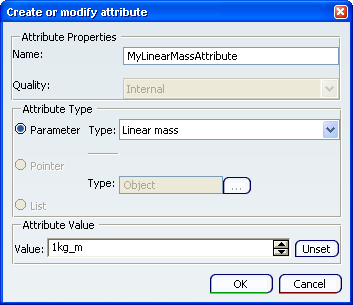
- Enter values for Name, Parameter Type and Attribute Value.
Repeat steps 3 and 4 for as many pathway and segment types as required.
(To create pathway and segment types which inherit attributes from a father type, select the father type in the specification tree in the List of Types before you click Create Technological Type
.)Click Propagate
 to save the changes to the PLM database.
Open the Project Resource Management workbench; click Start
> Infrastructure > Project Resource Management.
In the Setup Data Tables tab:
- Right-click Layout For Systems.
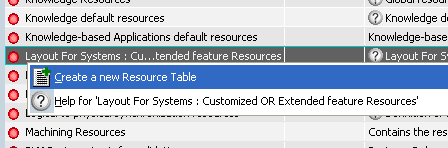
The Layout For Systems : Customized OR Extended feature Resources dialog box opens.
- Right-click Layout For Systems.
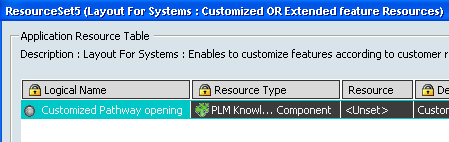
Search for and select the component name you created in step 2, click OK and then in the Layout For Systems : Customized OR Extended feature Resources dialog box click OK.
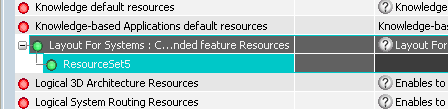
The new resource table is added to the Setup Data Tables tab under Layout For Systems.
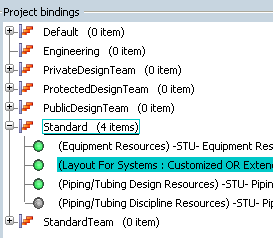
Drag the new resource table to one of the Project bindings (for example, Standard) on the left side of the display.
The resource is added to the project list.
Click Propagate
to save the changes to the PLM database.
Your specialized pathways and segments are now created and accessible when you create a pathway - see example below.
![]()
How to Access your Specialized Pathways and Segments
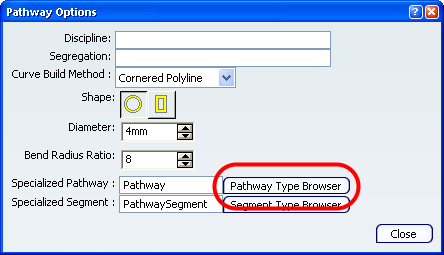
While you are first creating a pathway, in the balloon click Pathway Options  and in the Pathway Options dialog box click Pathway Type Browser or Segment Type Browser .
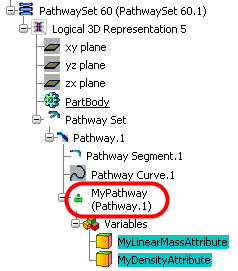
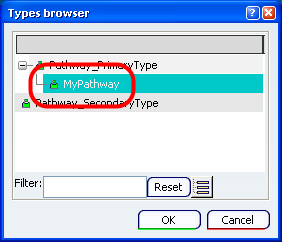
Select the specialized pathway or segment type you have created (MyPathway in this example).
When the pathway is created in the RFLP tree it will include your specialized pathway or segment type with any variables you added to the type (LinearMass and Density in this example).