Merging Subdivision Surfaces | |||
| |||
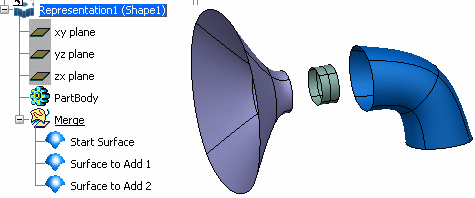
Click Merge
 .
.
Tip: You can also access this command by pressing ALT+SHIFT+W. Select Start Surface. The first surface selected is the surface that is going to be modified.
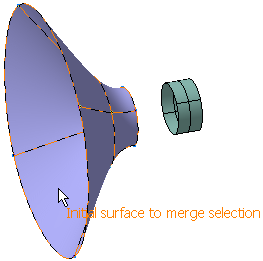
Select Surface to Add 1. This surface will be added to the first surface.
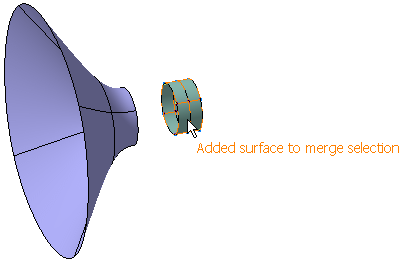
A Tools Palette is displayed.

The following icons let you:
- Merge Surface Selection
 reselect the surfaces to be merged.
 - Merge
 merge the two surfaces in order to create the merged edge at the middle of the selected edges. The number of selected edges on both surfaces must be same.
 - Join
 join the two surfaces by one face. The number of selected edges on both the surfaces must be same.
 - Extrude
 join the two surfaces by faces. The number of selected edges on both surfaces must be same.
 - Apply (Enter)
 validate the previewed result of the subdivision merge.
By default a result is previewed where the free edges used to junction the two surfaces are selected. This automatic selection selects the nearest two free edges. In this case, theMerge mode is activated.
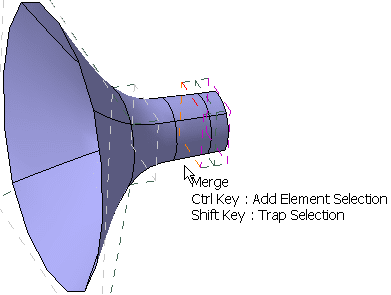
- Merge Surface Selection
Click Join
 .
.
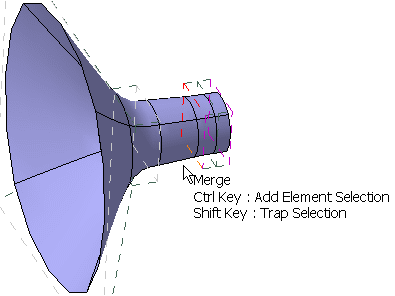
Click Extrude
 .
.
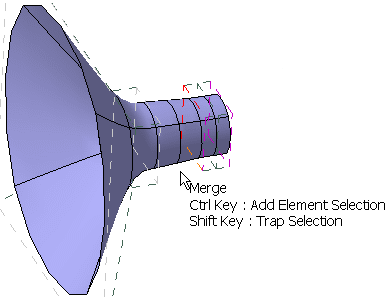
Select different sets of edges.
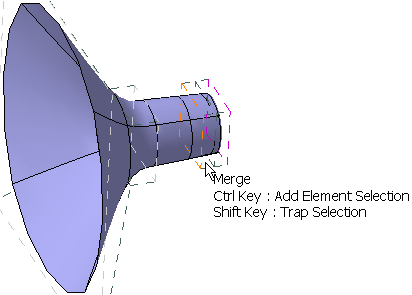
Click Apply (Enter)
 .
.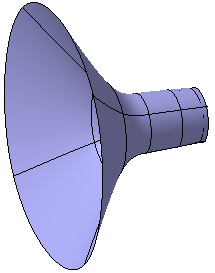
After validation, the selection of a new surface to be added is automatically activated.Select another subdivision surface to add, for instance select Surface to Add.2.
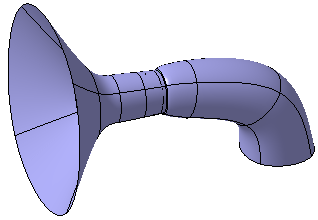
For more information about the Apply (Enter) command, refer to About Styling Surfaces.
Important: - Two subdivision surfaces can be merged only at their open edges as the junction is made by this free edge side.
- You can select two subdivision surfaces with different number of
free edges to create a join. You can see that only one edge is joined between both
surfaces:
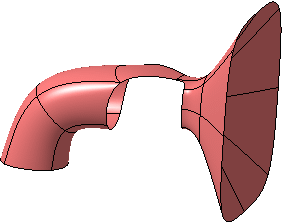
You can fill the hole created by the merge operation using the Extruding Faces and Edges command and selecting the connected faces.