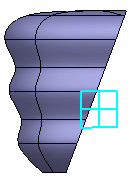
Click Cut by Plane  in the Styling Surfaces toolbar.
A Tools Palette is displayed:

The following icons let you:
 define the compass plane
 reset the plane orientation
 select the subdivision surface
 select the plane
 choose the side to keep
 translate the plane
 rotate the plane
 show the resulting mesh
 apply the command
Click Surface Selection  .
.
Select the subdivision surface.
Click Plane Selection
 .
.
Select the plane.
Here we selected the xy plane:
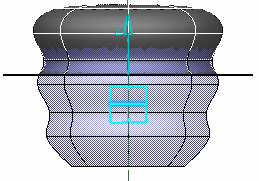
Click Surface Selection
 to choose the side to keep.
One click on this icon reverses the side to keep:
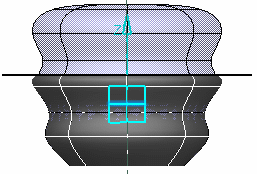
Click Plane Translation  .
.
Hold down the left-mouse button and drag to translate the plane.
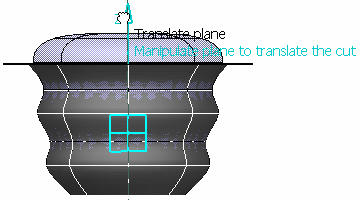
Click Plane Rotation  .
.
Hold down the left-mouse button and drag to rotate the plane.
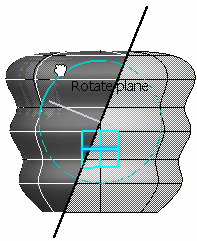
Note:
Once the Plane Translation  or Plane Rotation
  options have been selected, two icons appear in the Tools Palette:
Click Show resulting mesh to visualize the base mesh.
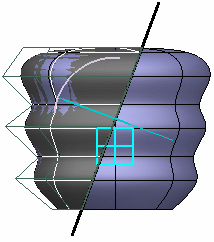
Click Apply (Enter)  to validate the command.
