Creating partial curvilinear length dimensions using existing points
Partial curvilinear length dimensions is created
using the existing points on the curve.
Click Dimension in the Annotations toolbar (Dimensions sub-toolbar). in the Annotations toolbar (Dimensions sub-toolbar).
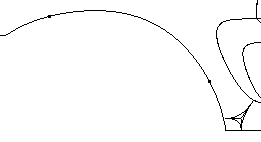
Select the curve on which you created the points. A preview of the dimension is displayed. By default, this preview shows an overall curve dimension.
Right-click to display the contextual menu and select Partial Curvilinear Length instead of Overall.
Still in the contextual menu, select a representation mode for the dimension line:
- Offset displays the dimension line as an offset of the measured curve.
- Parallel displays the dimension line as a translation of the measured curve.
- Linear displays the dimension line as linear.
For the purpose of this scenario, select Parallel.
On the curve, select the existing point that defines the first extremity of the curve portion to dimension.
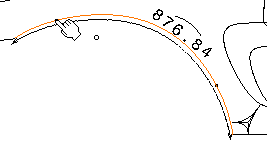
Select the point that defines the second extremity of the curve portion to dimension.
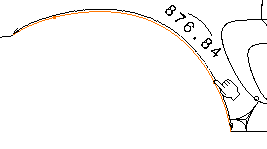
Optionally drag the dimension line and/or the dimension value to position them as wanted.
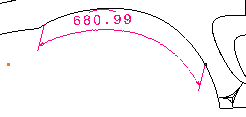
Click elsewhere in the drawing to validate the dimension creation. The semi-arc symbol displayed over the dimension value symbolizes a curvilinear length dimension (whether partial or not). You can now handle the dimension just like any other dimension.
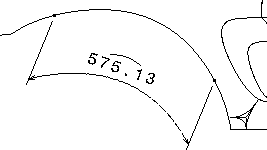
Move one or both points, on the line or in free space. The dimension is re-computed (if you moved the point in free space, it is re-computed according to the normal projection of the points on the curve).
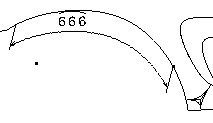

Creating partial curvilinear length dimensions using points created on-the-fly
Partial curvilinear length dimension is created using the extremities of the curve.
Click Dimension  in the Annotations toolbar (Dimensions sub-toolbar). in the Annotations toolbar (Dimensions sub-toolbar).
Select the curve. A preview of the dimension is displayed.
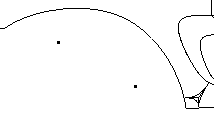
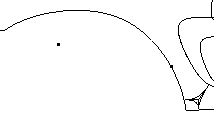
Right-click to display the contextual menu and make sure Partial Curvilinear Length is selected. Still in the contextual menu, select a representation mode for the dimension line: for the purpose of this scenario, select Offset. On the curve, select the point that defines the first extremity of the curve portion to dimension. You can click the curve, or in the free space. Note that the indicated point cannot go further than the extremity of the curve itself.
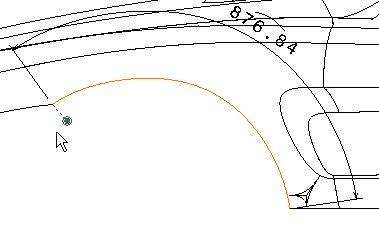
Select the point that defines the second extremity of the curve portion to dimension.
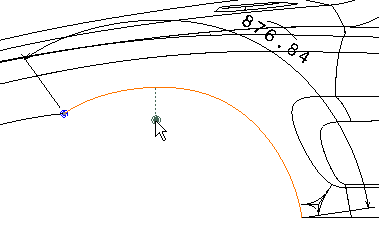
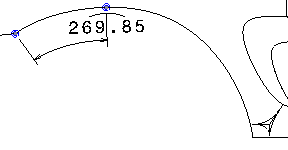
Note that two points, as well as two coincidence constraints, have been created on the curve, at the projection point of where you clicked. Optionally drag the dimension line and/or the dimension value to position them as wanted. Click elsewhere in the drawing to validate the dimension creation. The semi-arc symbol displayed over the dimension value symbolizes a curvilinear length dimension (whether partial or not). You can now handle the dimension just like any other dimension.
|
