Creating a Table | ||||||
|
| |||||
Create a Table Using the Pointer
You can quickly create a table using the pointer. In this case, the size of the table is determined by the movement of the pointer.
Click Table
 in the Annotations toolbar (Table and Balloon sub-toolbar).
The pointer changes to
 , indicating the position of the first table corner.
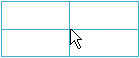
Click on the sheet to indicate the table anchor point.
Four cells are displayed (top left, top right, bottom left and bottom right) highlighted in blue, to help you decide the table orientation.
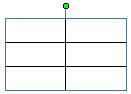
Move the pointer in the required direction to decide the table orientation.
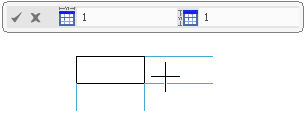
This creates a one-cell table corresponding to one of the four previewed cells. The table is created according to the direction towards which the pointer is moved.
At the same time, an immersive dialog box appears at the top, displaying the number of columns and rows of the previewed table.
![]()
Create a Table Using a Dialog Box
You can create a table by entering values in a dialog box.
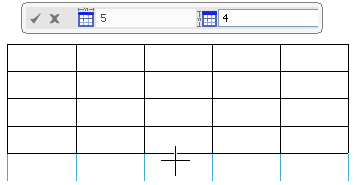
Enter the table dimensions (number of columns and rows respectively) in the dialog box.
By default, focus is on the column box. You can constrain the table using the dialog box in one or two dimensions.
- Constraining the table in one dimension:
- Enter a value either in the column box or in the row box, to constrain the table either by columns or by rows, respectively.
For instance, enter 5 as number for columns. This fixes the number of columns of the table. You can no more add a column by moving the pointer in the graphic area and the resultant table has only 5 columns. The number of rows however still changes with the pointer position.
- Constraining the table in two dimensions:
- Click
 in the dialog box.
Note: You can also press Enter or click in the empty space to validate the table creation.
The table is created and placed in the selection mode so that it can be modified or moved.