Inserting a New Manikin
This describes how to insert a new manikin, or forearm in your scenario.
Click Inserts a new manikin . . Select the Father Product If not already selected, the text is shown in
the default color, blue.
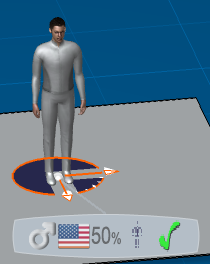
Click Validate Creation to accept the default locations and manikin attributes. Note:
The graphic manipulator appears in the 3D geometry window at the manikins feet. This allows you to perform a certain number of manipulations (mainly
translation and rotation) on certain objects. The options for
creation appear in the balloon toolbar.
Click on a geometry to snap on is detected and manikin preview is
positioned accordingly. Using the Pull-down menus you can change
the gender, the population, the percentile and click the Green
Validation when completed.
It may be necessary to select
Fit All In  to have the whole manikin fit the viewpoint. to have the whole manikin fit the viewpoint.

Inserting a Forearm
In this scenario, we are using the Right forearm.
Click Inserts a new Right Forearm
 . . Select the Father Product (If not already selected, the text is shown in
the default color, blue).
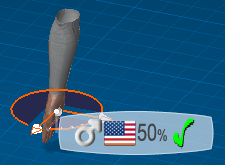
Click Validate Creation to accept the default location and manikin attributes.
|