Creating a Flag Note with Leader

You can create a flag note with leader.

Important:

  • The leader is associated with the element you selected. If you move either the text or the element, the leader stretches to maintain its association with the element.
  • When you change the element associated with the leader, application keeps the associativity between them.
  • Note that using the Text Properties toolbar, you can define the anchor point, text size and justification.
  • You can move a text using either the drag capability. Note also that you can resize the manipulators, for more information, refer to Manipulators.


Before you begin:
  • Open an existing 3D shape.
  • Improve the highlight of the related geometry by selecting Highlight faces and edges in Selection.
Related Topics
About Flag Note Annotations
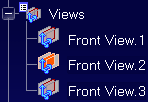
  1. Be sure that Front View.2 is activated.


  2. Click Flag Note with Leader

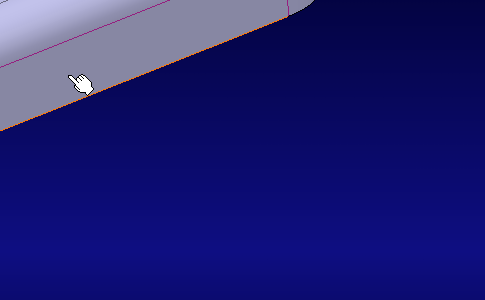
  3. Select the face as shown to define a location for the arrow end of the leader.

    The Flag Note Definition dialog box appears.

  4. Type in NEW FLAG NOTE WITH LEADER in

    Name field.

  5. Click OK in the Flag Note Definition dialog box.

    Tip:

    Instead of click OK in the Flag Note Definition dialog box you can click anywhere in the geometry area too.


    • The flag note appears in the geometry with its manipulator
    • The flag note (identified as Flag Note.xxx) is added to the specification tree under the Note sub-node.


  6. You can click anywhere in the geometry to unselect the flag note.