Click the Dimensions icon
 from the Annotations toolbar (Dimensions sub-toolbar).
Click a first element in the view. For example, a circle.
If needed, click a second element in the view.
The dimension type is automatically defined according to the selected
elements ( or
or
 in the Tools Palette).
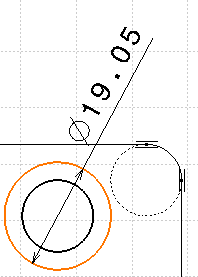
At this step, the options in the Tools Palette allow you
to position the dimension using one of the following modes: Projected
or Forced modes.

These options are also available in the contextual menu.
Click the Force Dimension on element
 icon from the Tools Palette.

Right-click to access the contextual menu and select 1 symbol.
The dimension becomes a one-symbol dimension.
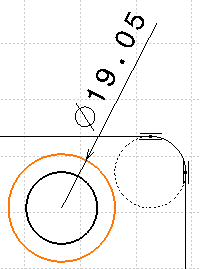
Click in the drawing window to validate the dimension creation.
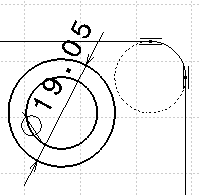
Create two other dimensions on a line as shown.
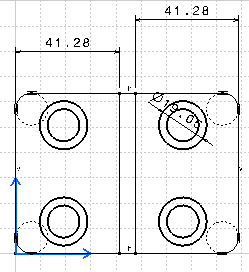
Select the two dimensions with the Ctrl key (you can move
them both).
Start creating another dimension: click the Dimensions
icon
 and select another circle.
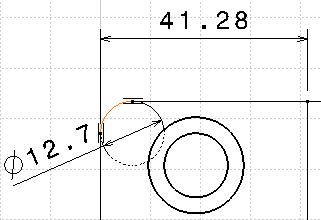
Click in the drawing to validate the dimension creation.
Right-click the dimension you just created and in the contextual
menu, choose Dimension.3 Object and select Swap to Radius.
The diameter dimension has swapped to radius dimension.
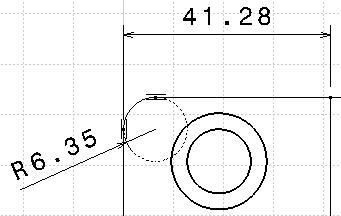
Right-click the dimension again, and in the contextual menu, choose
Dimension.3 Object, and clear
Extend to Center.
The radius extension line is not extended up to the center anymore.