Create Sections Using a Planar Surface
You can create a section using a planar surface as cutting plane.
For the purpose of this scenario, you will create an offset section view, but this capability is also available for other types of sections.
Click Offset Section View
 in the Views toolbar (Sections sub-toolbar).
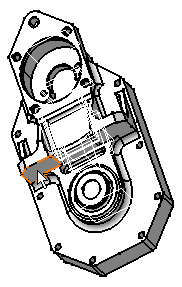
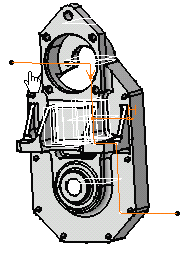
Select a planar surface on the 3D part. This planar surface needs to be perpendicular to the projection plane of the active view.

Note:
You can also select a wireframe plane on the 3D part.
The section plane appears on the 3D part and moves dynamically
on the part.
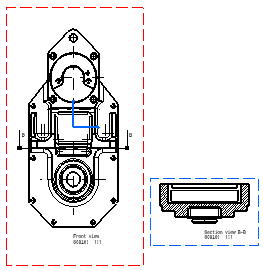
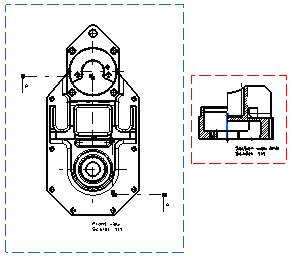
The cutting profile is automatically displayed on the front view
as well as a preview of the view to be generated.
Click in the drawing to generate the view.


Create Sections Using a Cutting Profile Defined in 3D
You can create a section using a cutting profile defined in 3D as cutting plane.
For the purpose of this scenario, you will create an offset section view, but this capability is also available for other types of sections. Sections are usually created using a cutting
profile as the cutting plane; such a profile is typically driven
using concentricity or parallelism constraints. Defining a profile
in 3D to create a section enables you to make
the profile associative with the geometry, and therefore to drive
this profile using dimensional constraints, for example.
In the 3D window, click Sketch  and select the xy plane as the reference
plane. and select the xy plane as the reference
plane.
You are now in the Sketcher workbench.
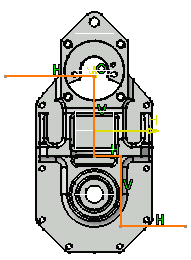
Click Profile  and sketch the profile you will use as
cutting plane. For the purpose of this scenario, make sure you
sketch your profile using orthogonal lines. and sketch the profile you will use as
cutting plane. For the purpose of this scenario, make sure you
sketch your profile using orthogonal lines.

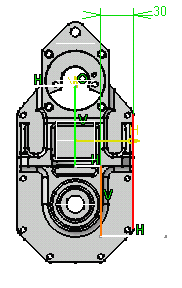
Click Constraint  to create dimensional constraints between
your profile and other elements. to create dimensional constraints between
your profile and other elements.

Now, click a vertical line and the edge of the part to create a dimensional constraint between them. Exit the Sketcher workbench.
In the drawing window, click Update  to update the view. to update the view.
Click Offset Section View  in the Views toolbar (Sections
sub-toolbar). in the Views toolbar (Sections
sub-toolbar).
Select the profile on the 3D part.
The cutting profile is automatically displayed on the front view
as well as a preview of the view to be generated. Positioning the
section view amounts to defining the section view or the section
cut direction.

Click to generate the view.


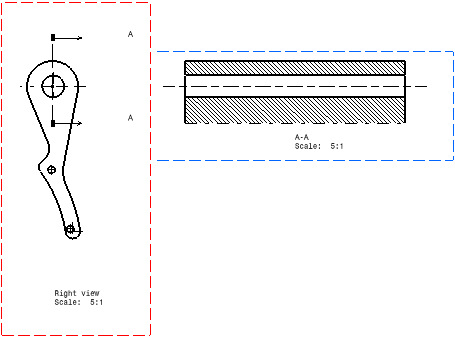
Create Sections Through Circular and Cylindrical Elements
You can create a section through circular and cylindrical elements.
For the purpose of this scenario, you will create an offset section view, but this capability is also available for other types of sections. In creating an offset section view or offset section cut
through circular and cylindrical
elements, the first point is automatically computed if the selected
element is:
- a circular generated item or a centerline,
- a generated item corresponding to a revolution surface or an axis line.
In the drawing window, click Offset Section View
 or Offset Section Cut or Offset Section Cut
 in the Views toolbar (Sections sub-toolbar).
Select the circle representing the hole (or a centerline),
to define a profile going through a hole.
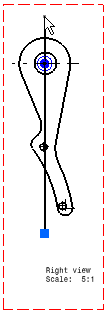
The first extremity of the segment
is positioned automatically outside the geometry. Double-click to end the profile.
In this case you can see that the top position has been fixed.

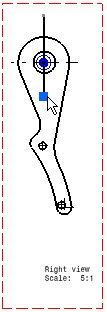
Drag the blue manipulator to define the cutting length.
In this case the second extremity is placed inside the geometry.

Click to position the view.

|
![]()
![]()
