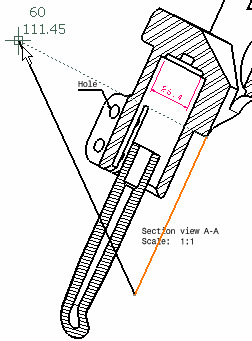
Activate the Section view, then click Clipping View Profile
 in the Views toolbar (Clippings sub-toolbar), to create
a clipping view using a sketched profile as callout.
To create a clipping view using a circle as a callout, click
Clipping View
 .
.
Select the required points for sketching a polygon.
If you are creating a clipping view using a circle, select the center of
the circle.

Close the polygon, or double-click to end its creation.
If you are creating a clipping view using a circle, drag the mouse to define
the clipping profile, then click.
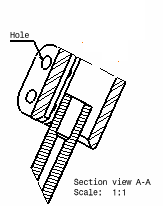
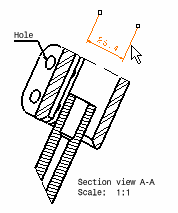
The view and the associated profile result as shown here:

Note:
The existence of dimensions that are associated to a
geometrical element which is not visible in the clipping view: these dimensions
are placed in the no-show space. (When applicable, this is also the case
of annotations that are associated to such a dimension, and of annotations
that are no longer linked to the clipping view.) For more information, refer
to
View in the Customizing chapter.
Click Swap visible space
 in the View toolbar.
You can now visualize the dimensions (and annotations, when
applicable) that no longer appear on the clipping view.
If needed, you can show these dimensions again on the clipping
view. To do so, click Hide/Show
 in the View toolbar.
Select the dimension you want to show on the clipping view.
Click Swap visible space
 again.
The selected dimension now appears on the clipping view again.
