Setting Draft Properties | ||||||
|
| |||||
Click Draft Properties
 in the Mold Desgin Properties toolbar.
 Note: It is not possible to set draft properties feature during the definition of a functional feature.
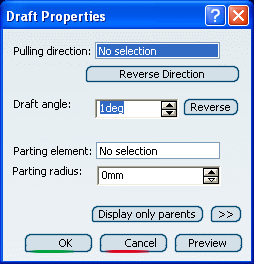
Important: Because some sub-elements of the product can be molded in different directions, there is no limitation on the number of draft properties features you can define in a solid functional set. Select a Parting element if necessary.
This plane, sketch, face or surface cuts the product in two and each portion is drafted according to its previously defined direction. You can also select 2D output sketches, 2D output profiles and 2D layout profiles as parting elements of draft properties. When the sketch is selected, a Generative Shape Design (GSD) surface is automatically built internally.
Click OK to confirm the draft properties you defined.
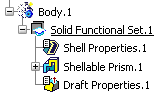
Draft Properties is added to the specification tree.
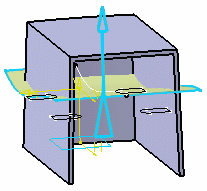
The blue graphics representation is located on the geometrical element used for defining the pulling direction, or the parting element or at the product's origin.
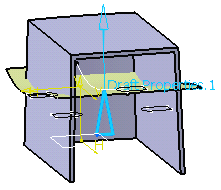
This representation is associative with the geometry so when the parting element or direction is modified, the representation is updated.