Double-click to activate the electrical geometry.
Click Electrical Branch Geometry
 .
.
The Electrical Assembly Design workbench switches to the
Electrical Part Design workbench.
The
Branch Definition dialog box appears.
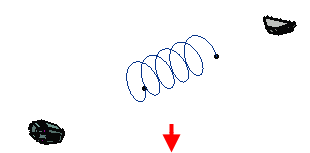
In the dialog box, click the External Curve
box and select the curve in the geometry area:


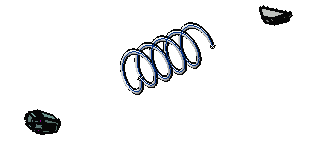
The shape is automatically generated and the length of the
branch is displayed in the Length box.
Optional: To modify the
external curve:
- Right-click the External Curve box and select Reset.
- Select another external curve in the geometry
Or,
- Directly edit the external curve.
Click OK when done.
Add other branches to join the branch you just defined
to connectors.
- Click Branch
 .
.
- Click Route Definition and select
the objects of interest to define the route of the branch.
- Click OK to validate.
- Repeat these steps for the other end.
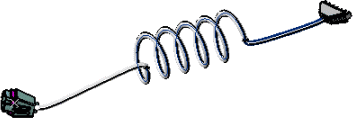
The final result looks like this:
