Live Simulation Environment and Layout | ||
| ||
Activate and Exit Live Simulation
Live Simulation is not a workbench, but an environment in which you can test various scenarios and other simulation behaviors and analysis for your manufacturing processes.
Within a workbench, you enter Live Simulation by clicking Activate Live Simulation  ; you return to your workbench by clicking Exit Live Simulation
 ![]() .
.
When you enter Live Simulation, by default, you are put in Resource Selection mode, so that when you select a feature of a part or product, the whole entity is selected. The command toggles between being enabled (highlighted) and disabled.
Note:
When Live Simulation is active, double-clicking an object (such as a product or resource) may change the current context and exits the Live Simulation environment. Click Activate
Live Simulation to
return to the Live Simulation environment.
![]()
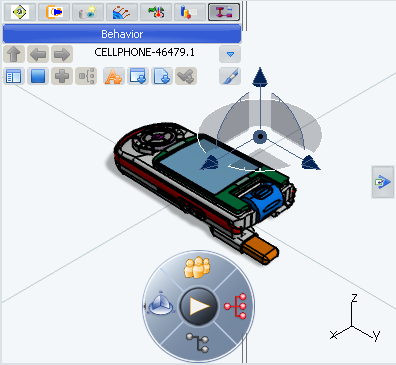
Active Simulation Object (ASO)

When you open Live Simulation, the active simulation object (ASO) is set, and its name is featured under the immersive browser tabs. The name of process function corresponding to the ASO (if this is available) is displayed underneath the ASO's name, allowing the user to navigate the manufacturing assembly structure. See Selecting the Active Simulation Object.
![]()
3D View
The environment of Live Simulation has been created to enable you to focus on creating simulations. For example, the ambience is set to a color scheme that is exclusive to Live
Simulation. Some of these environomental features can be modified in :
- To help you focus on the ASO, the objects surrounding it are set to low-light.
- The floor is displayed. By default, it is fixed at 0, so any product, resource, or any part of either that is positioned below 0 appears immersed in the floor or below it. If you accept the default value, you can position products and resources above 0 to keep them from being immersed in the floor. Alternatively, you can choose to let the floor float depending on where you place the data.
See Live Simulation.
![]()
Open Simulation Options
When you click on Open Simulation Options , the Simulation Options dialog box opens. See Simulation Options.
![]()
Messages Reporting
Messages Reporting  appears underneath Simulations Options once the first mesage is generated in Live Simulation; it is not present at startup. When you click on Messages Reporting, the Messages Reporting dialog box opens. See Messages Reporting.
![]()
Immersive Applicative Data Browser

The specification tree is replaced by an immersive browser, which provides tabs that enable you to create behaviors, excitations, and simulation logic as well as analysis objects, called probes. See Immersive Applicative Data Browser.
![]()
Co-Review
A co-review enables you to collaborate with your colleagues around a 3D object as if you were working together, side-by-side, in the same office.
The following features are included:
- co-highlighting
- viewpoint synchronization
- turntable synchronization
- tree level synchronization (except for a 3D XML connector)
- co-review leader's annotations
- co-review leader's pointer
![]()
Impact of Live Simulation on Graphical Properties
Any product or resource modifications that were made in Live Simulation are returned to the original design positions with the original graphical properties.
Simulation data created while in Live Simulation are maintained throughout your session in V6 when you leave Live Simulation. This data is saved when you select in the main menu.
There are two cases, both of which involve the use of Hide/Show, in which graphical changes applied directly on the representations (geometrical features) are not restored to the original values when you exit Live Simulation.
- If you disable Resource Selection, select a feature or part from the 3D window, and launch
Hide/Show command or Properties command, and then you modify the
graphical attributes (e.g., color, transparency).
- When you are running a different command that affects the representations, right-click on some feature or part selected from the 3D window, and select Hide/Show.
To reverse the graphical changes, swap visible space (for hidden parts), select the desired feature or part and launch Hide/Show again, or launch Properties again and change the graphical attributes as needed. The Resource Selection mode must be disabled if you need to change or reverse graphical attributes for features or parts while in Live Simulation environment.
![]()
Refresh Browser Function
This command refreshes the immersive browser tabs when you modify applicative data outside of specific immersive browser tools. For example, if you modify the properties of objects directly on the specification tree or using the Gantt Chart, you should use . Similarly, if you delete thumbnails with the Delete key instead of selecting the Delete command from the context menu, you should use Refresh Browser.