Selecting the Active Simulation Object | |||
| |||
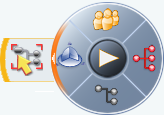
Modify Active Simulation Object from the PLM Compass
You can access the Modify Active Simulation Object command from the PLM Compass.
Expand the west quadrant of the PLM Compass by clicking on the small arrow along the left edge of the compass to access Modify Activate Simulation Object
 .
.

The quadrant expands to display the Modify Activate Simulation Object command:
Click Modify Activate Simulation Object
Note: If a valid object was selected prior to clicking Modify Activate Simulation Object
, it is set as the Active
Simulation Object. The Live Simulation environment is updated to
display the correct title, low-light, and data displayed in the
immersive applicative browser.
Click an object in the 3D viewer.
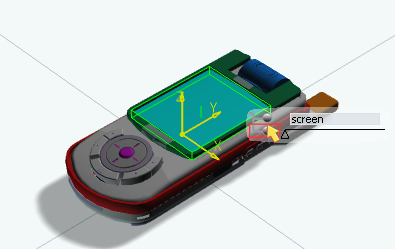
The selected object becomes the Active Simulation Object, and the Selection Assistant is displayed:
Use the slider control of the Selection Assistant to traverse the hierarchy of the selected object.
As the slider is moved from left to right, each successive parent object is selected as the ASO. Note the position of the slider and the displayed selected object in the composite image above.
![]()
Use the Selection Assistant
You can use the selection assistant to select a new ASO.
Open a simulation in Live Simulation.
In the ASO title bar, the root product node (Cellphone-46479.1) appears as the ASO. Beneath it is the root assembly process node for the product (Cellphone-46479.344032728).

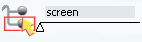
Click on a part.
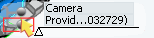
The Selection Assistant appears. It lists both the part name (Camera) and the assembly process name (Provide.46479.344032741 - Camera344032729)
When used in this manner, the Selection Assistant has two modes:
- The default, simple pick mode, where the object is selected for other commands to use
- Select ASO mode, where the picked object is set as the the current ASO.
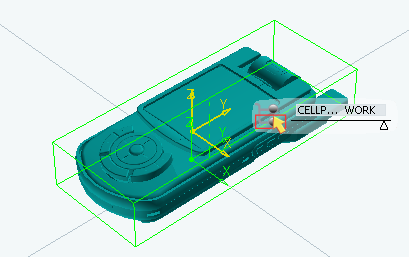
To set the camera as the new ASO, click
 .
.
The camera is set as the ASO. The two behaviors that use the camera appear under the Behavior bar.
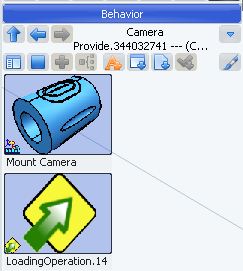
Two arrows to the left of the ASO are also enabled.- The up arrow is enabled so that you can navigate up the tree to the next level in the product hierarchy (assuming there is another level).
- The left arrow is enabled so that you can navigate to the previous ASO.
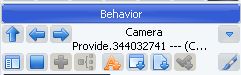
Select another part (e.g., the volume key), then click the left arrow to return to the camera.
The right arrow is now also enabled, so you can navigate forward in your history.
Click on the pull down icon to the right of the ASO's name.
The history of the ASOs you have selected so far appears.

You can select any of these ASOs to set that part as the ASO, you can clear the history or you can close the history by clicking on the collapse arrow at the top.