Working with Replaceable Components

In order to redeclare one of its classes, you can create a replaceable component.

This task shows you how to:

Related Topics
Editing Class Attributes
About Modelica Components

Create a Replaceable Component

From Tools > Options... > Systems > Dynamic Behavior Modeling > Editor tab, Components Visualization area, the Frame replaceable/redeclared components option is selected by default.

By default, when a component is replaceable, its 2D representation is framed.

  1. Instantiate a component.

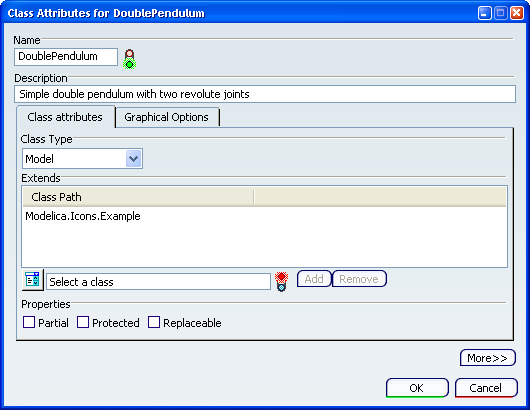
  2. Click Edit Class Attributes .

    The Class Attributes dialog box appear.

  3. Select the Replaceable option.

  4. Click OK to close the dialog box and define your component as replaceable.

Tip: To create a replaceable component, you can also instantiate a partial class: the created component is automatically defined as replaceable.

Redeclare a Class in a Replaceable Component

When a class is replaceable, you can redeclare one or several of its classes.

In a replaceable component, you can redeclare:


  • the class of a component when it is inherited
  • the class of a sub-component

Warning: When you redeclare a class, you must ensure compatibility with the component, taking into account the constraining clause.

  1. From the Component Browser, right-click a replaceable component to display its contextual menu.

  2. Select Define Redeclare Attributes in the contextual menu.

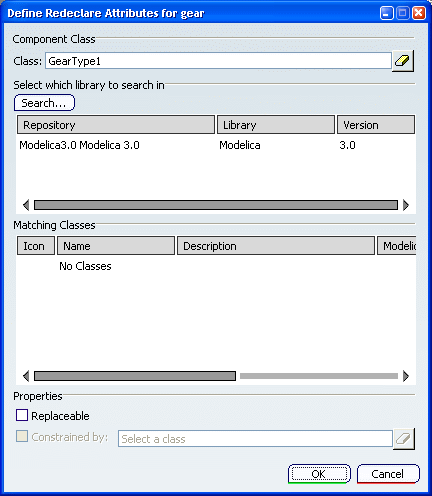
    The Define Redeclare Attributes dialog box appears.

    The Component Class area displays:

    • the class of the component
    • the redeclaring class, if the component class has already been redeclared. In such case, you can retrieve the component class by clicking Erase .

    The Select which library to search in area displays the libraries linked with the current library (through an Extends link).

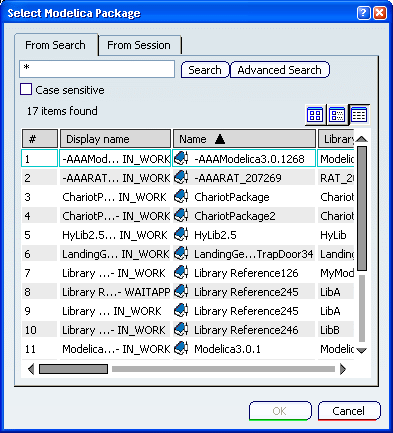
  3. To display other libraries, click Search... then browse from the Select Modelica Package dialog box.


  4. Select one or more libraries, then click OK to validate your selection and exit the dialog box.

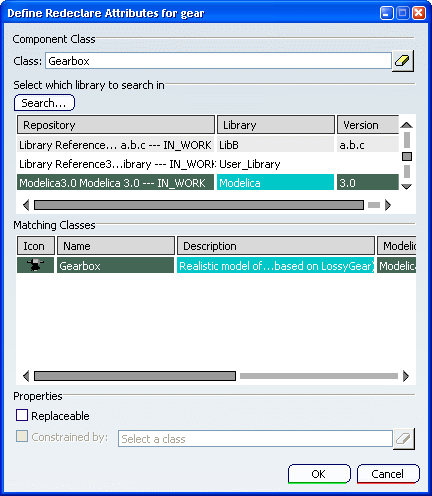
    The selected library is added in the Define Redeclare Attributes dialog box.

  5. From the Select which library to search in area, select a library in the list.

    The Matching Classes area displays all compatible classes.

  6. Select a matching class.

    In this scenario, we select Gearbox.

  7. From the Properties area, define properties for this class:

    • Replaceable: to keep the component replaceable. By default, this option is not selected.
    • Constrained by: if you select a replaceable option, you can add a constraining clause.

  8. Click OK to close the dialog box and validate your change.

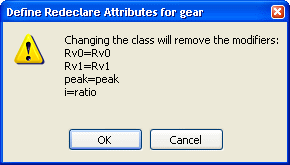
    A message informs you if any connections and modifiers must be removed when changing the component class.

  9. Click OK to validate your modifications.

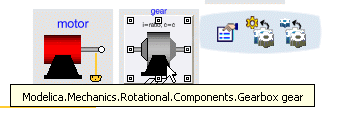
    In the diagram, the class in the component is redeclared.