Previewing Objects Prior to Printing | ||||
|
| |||
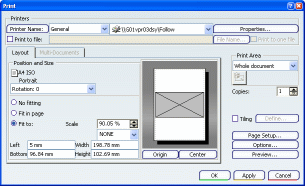
In the Print dialog box, click Preview....
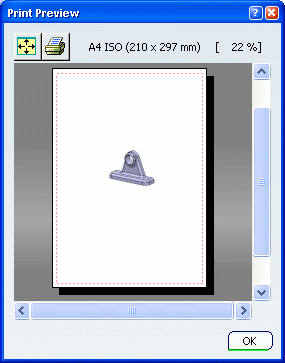
A preview of the object to be printed is displayed:

The Print Preview window can also be accessed through:
- The Print button in the Capture Preview window you access by selecting Tools > Image > Capture....
- The Preview contextual command when selecting Tools > Image > Album....
Warning: - When generating HLR for assemblies containing clashing bodies, some geometrical elements may not be generated.
- When previewing documents with a Rendering mode set to Rasterization, a progress bar might appear before the Print Preview window opens.
Optional: Click Fit All In
 .
.The entire object is reframed to fit in the viewer.
Optional: Zoom up or down by pressing and holding down the middle mouse button, then clicking the left mouse button and drag (still holding down the middle mouse button).
The percentage of the real size is displayed top right as you zoom. For example, if you want to display the document in real size, zoom to reach 100%.
Important: Markers (such as point symbols) are always printed with a size of 1.5 mm and this, whatever the zoom you define. Optional: Click Quick Print
 .
.The object is printed as displayed in the Print Preview window.
Click OK .
The Preview window is closed.
